Interface
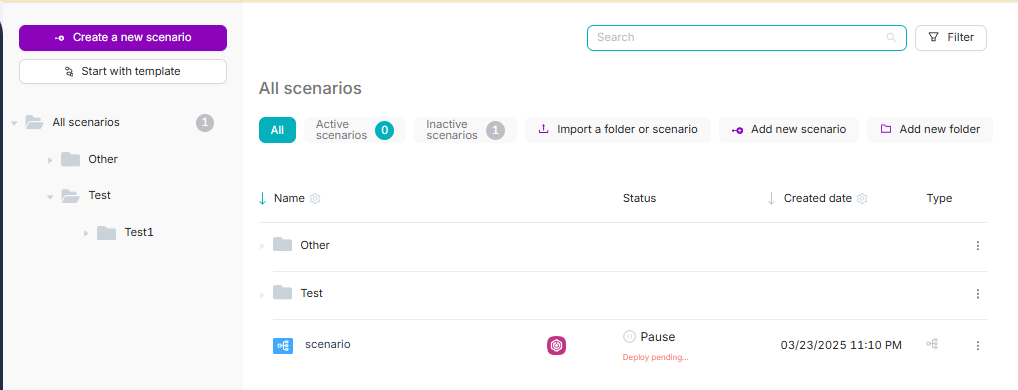
The Scenarios page is where you view, organize, and manage your scenarios and folders.
Scenarios and folders
Existing scenarios are available on the Scenarios page. You can also organize scenarios into folders (including nested subfolders).
Create a folder and move a scenario
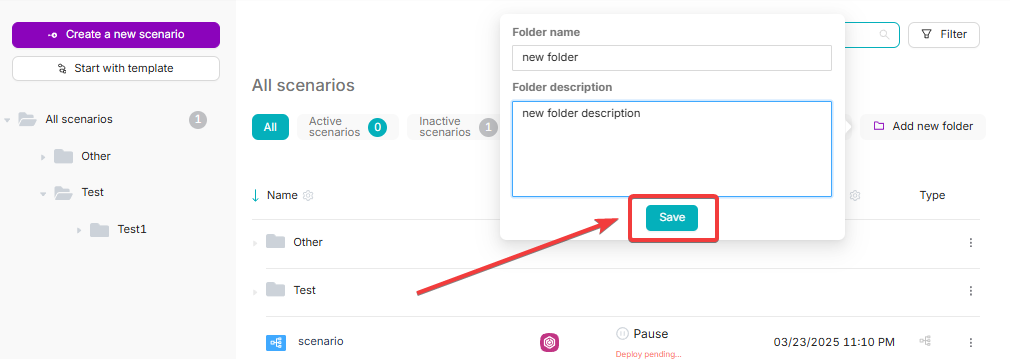
- Click Add new folder and enter the folder name.
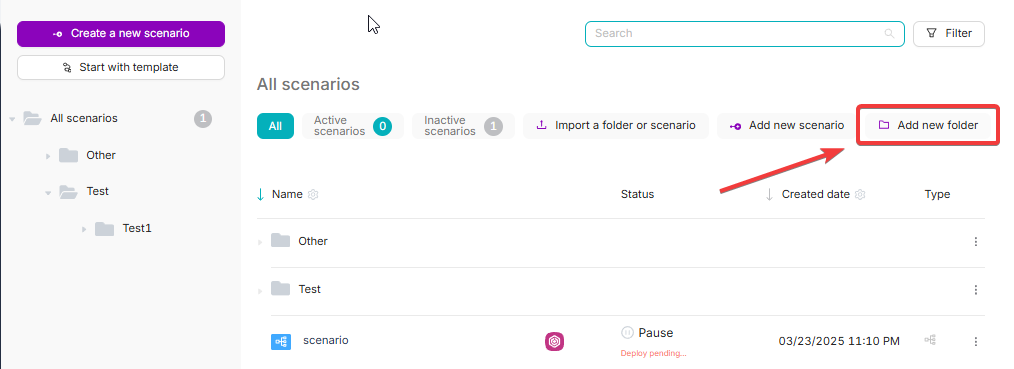
- Click Save.
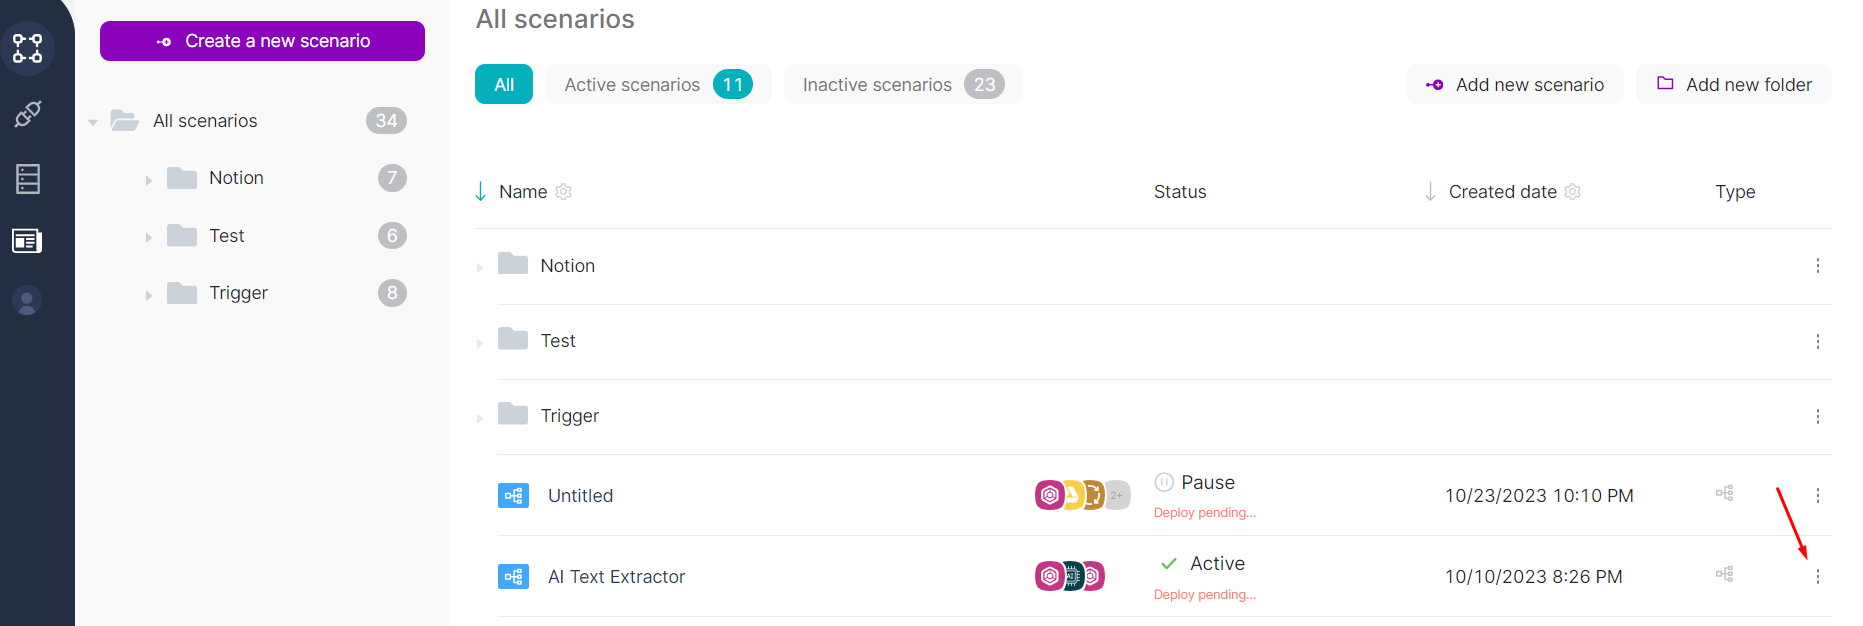
- In the All Scenarios table, open the scenario row menu (⋯).
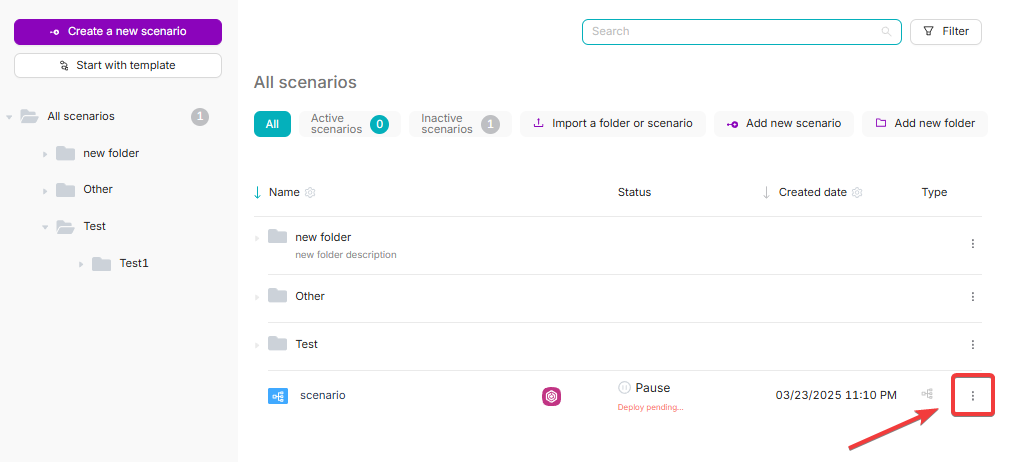
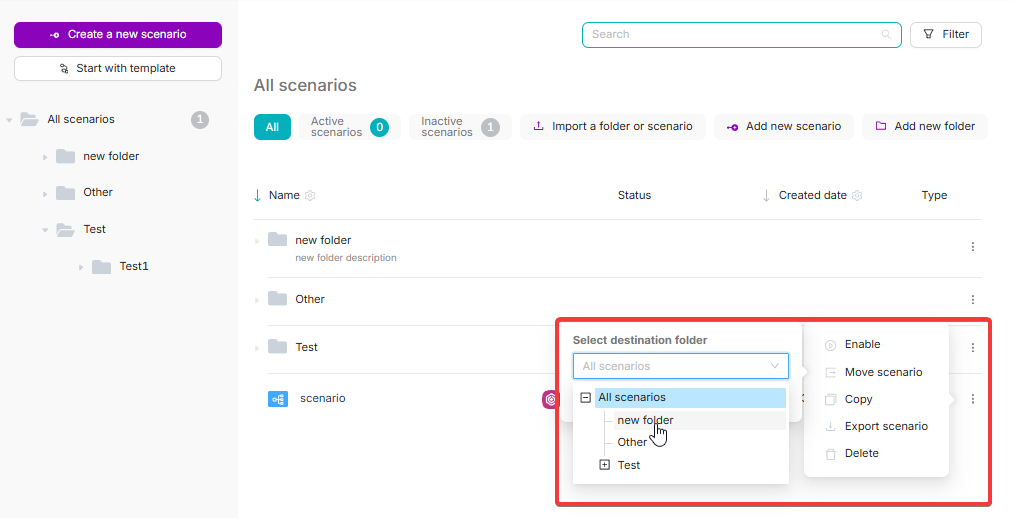
- Click Move Scenario and select the target folder.
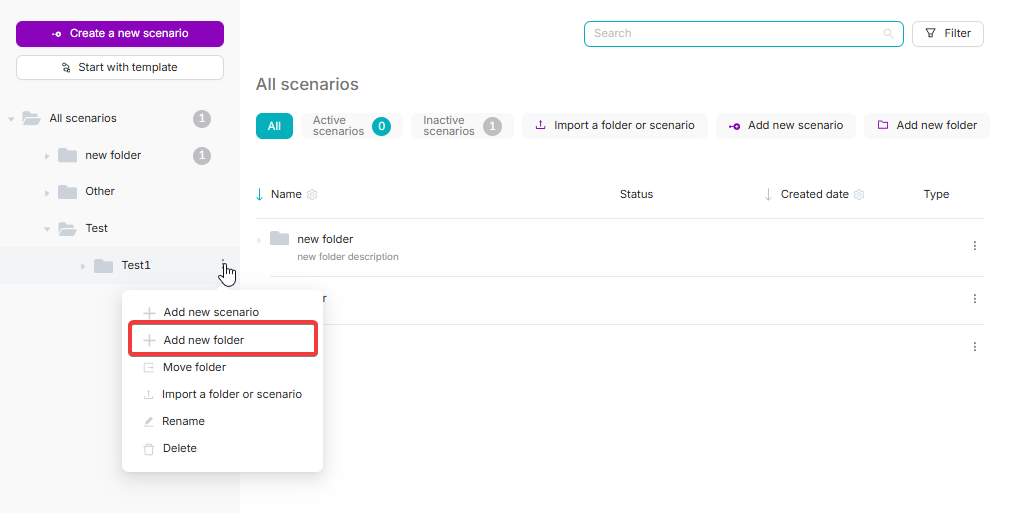
Subfolders
You can add subfolders by using Add new folder from the parent folder menu.
All Scenarios table
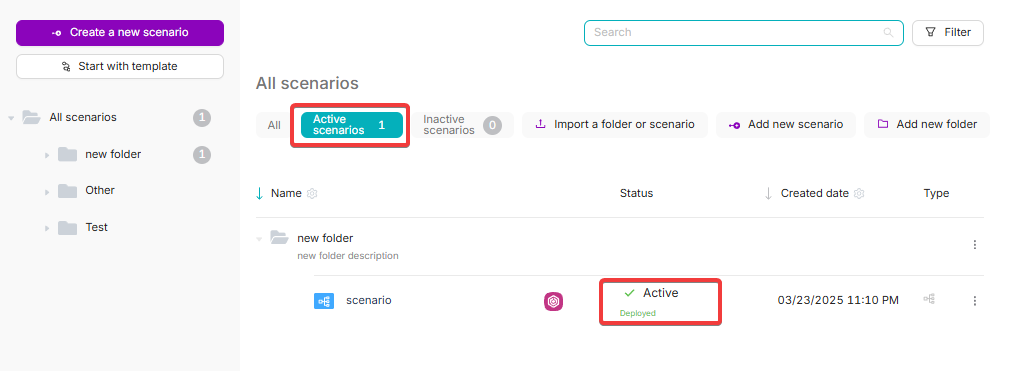
You can view key attributes of each scenario in the All Scenarios table.
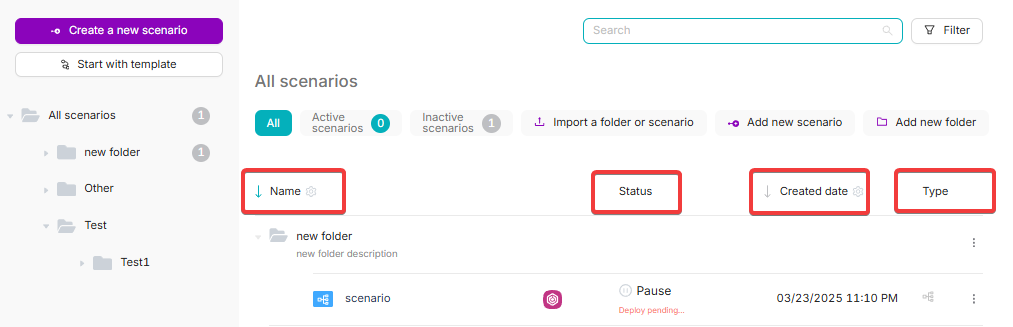
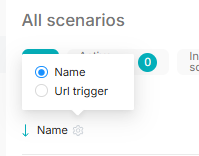
- Scenario Name: shown in the Name column. You can use the “gear” icon to switch the column to show the scenario’s webhook URL trigger instead of the name.
- Scenario Status: shown in the Status column (for example, Pause or Active).
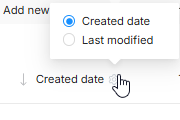
- Scenario Creation Date: shown in the Creation Date column. You can use the “gear” icon to show the modification date instead of the creation date.
- Scenario Type: shown in the Type column.
- Menu: actions available for each scenario.
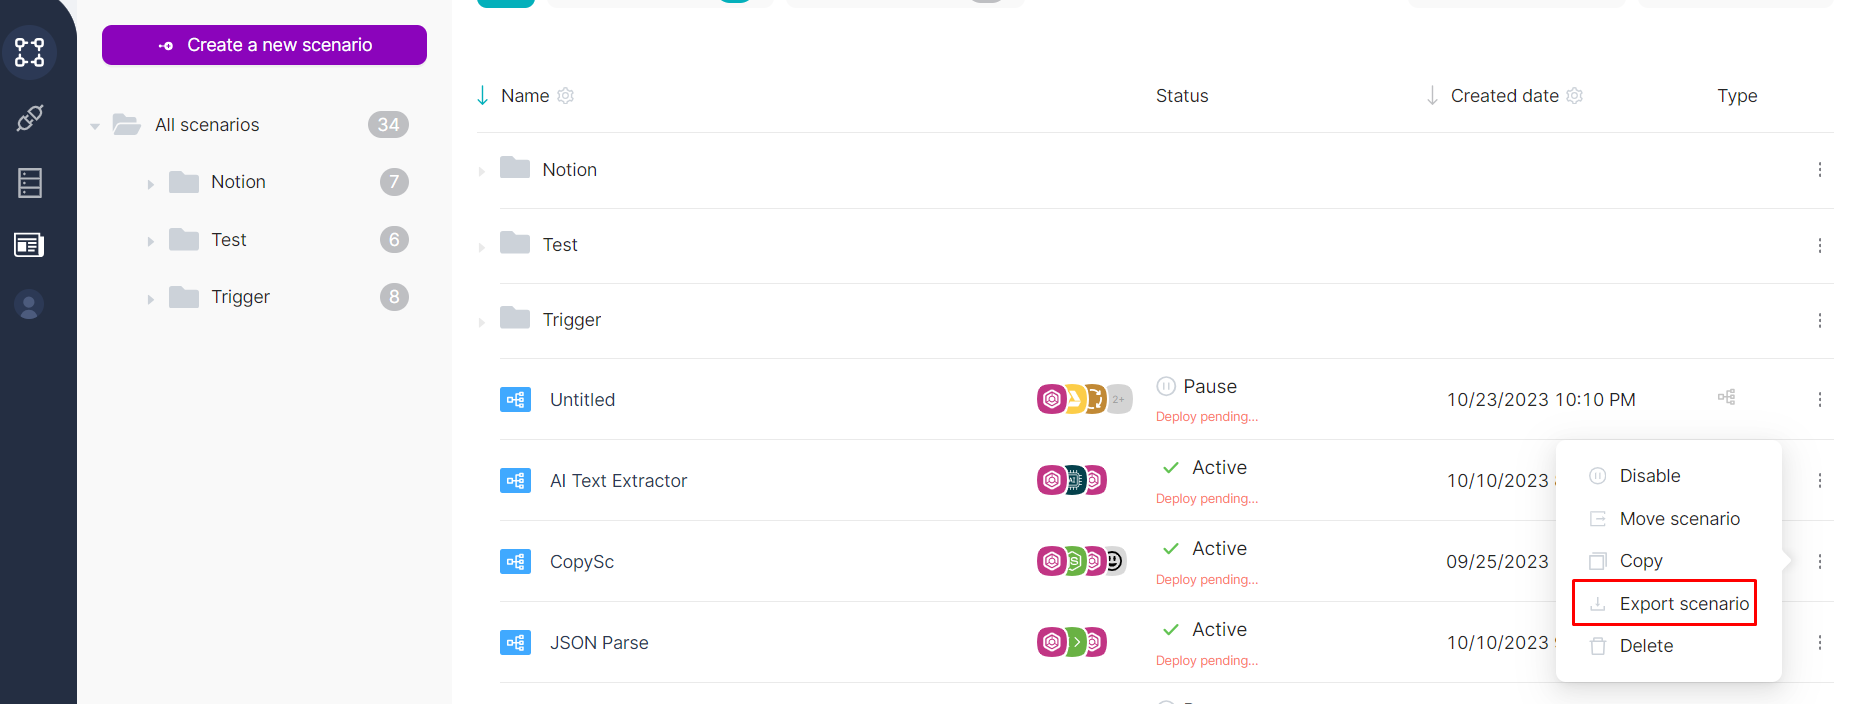
Scenario menu
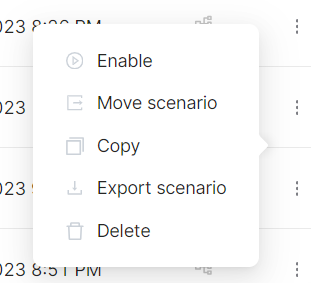
The scenario menu allows you to:
- Enable or Disable a scenario (changes status without opening the scenario).
- Move a scenario to a different folder.
- Copy a scenario to paste its content into external tools, or into another scenario.
Related guide
For details, see Copying Scenarios and Nodes.
- Export a scenario (downloads a JSON file with the scenario content).
- Delete a scenario.
Delete is permanent
After you confirm deletion in the modal, the scenario is permanently deleted.

Searching and filtering
Table filters
Use the filters above the table to show:
- All: scenarios in any status
- Active Scenarios: only active scenarios
- Inactive Scenarios: only paused scenarios
Search and type filter
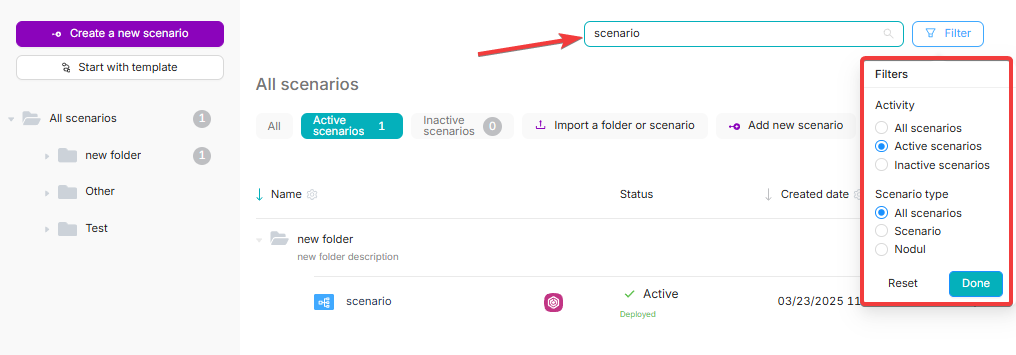
At the top of the page, you can use:
- Search: type a scenario name
- Type filter: filter by scenario type (for example, All Scenarios, Scenario, Nodul)
Import & Export (folders and scenarios)
Related guide
If you’re looking specifically for transfer steps, see Import & Export.
Export a folder
You can export a folder only if it contains at least one scenario (empty folders can’t be exported).
- Open the folder menu (next to the folder or from the folder row in the table).

- Click Export folder.
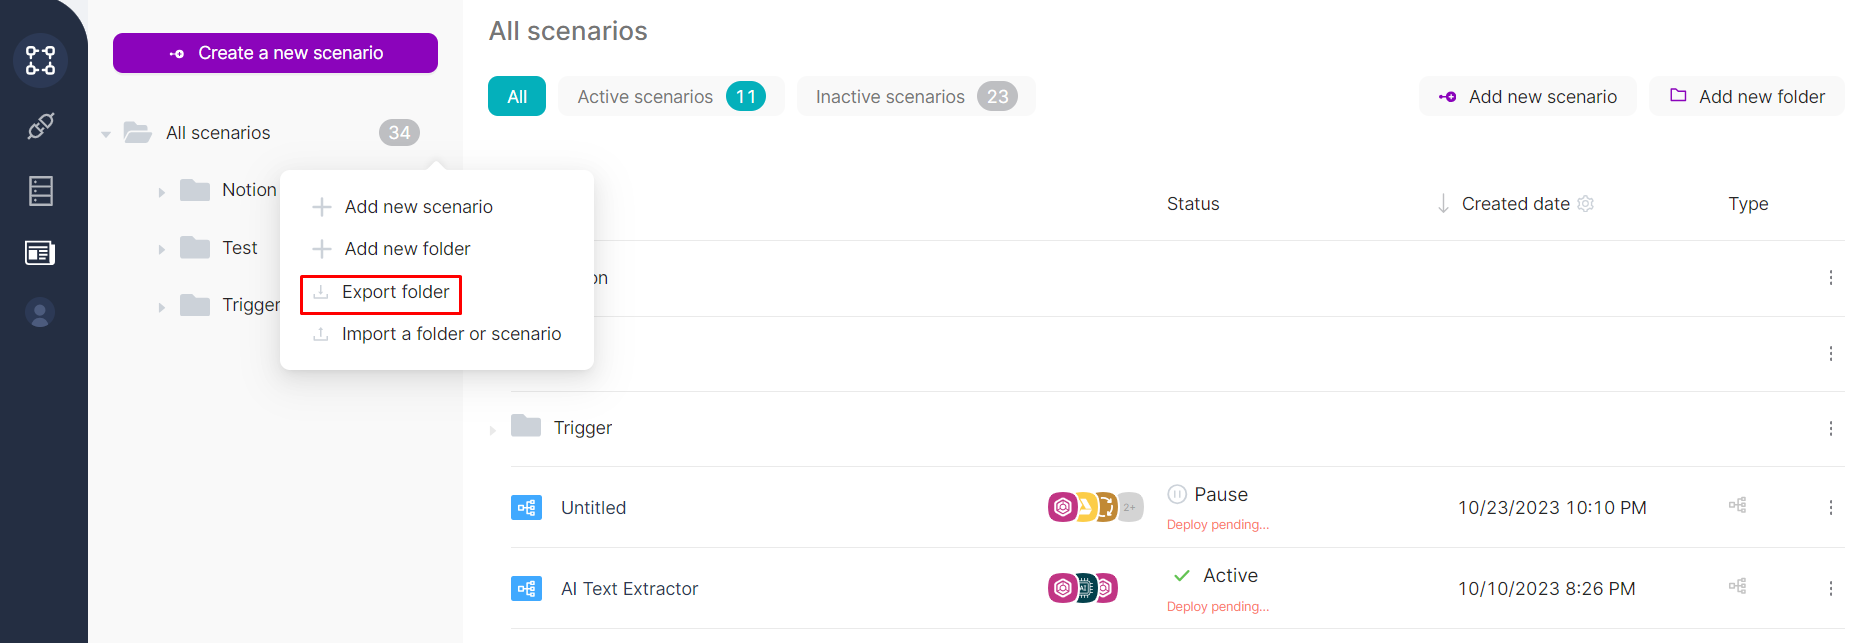
After export, you’ll get an archive that contains folders and scenario JSON files. Folder names and hierarchy are preserved.
Export a scenario
- Open the scenario row menu (⋯).
- Click Export Scenario.
Import a scenario (or a folder)
You can import into All Scenarios or into a specific folder.
- Open the menu next to All Scenarios or next to a folder.
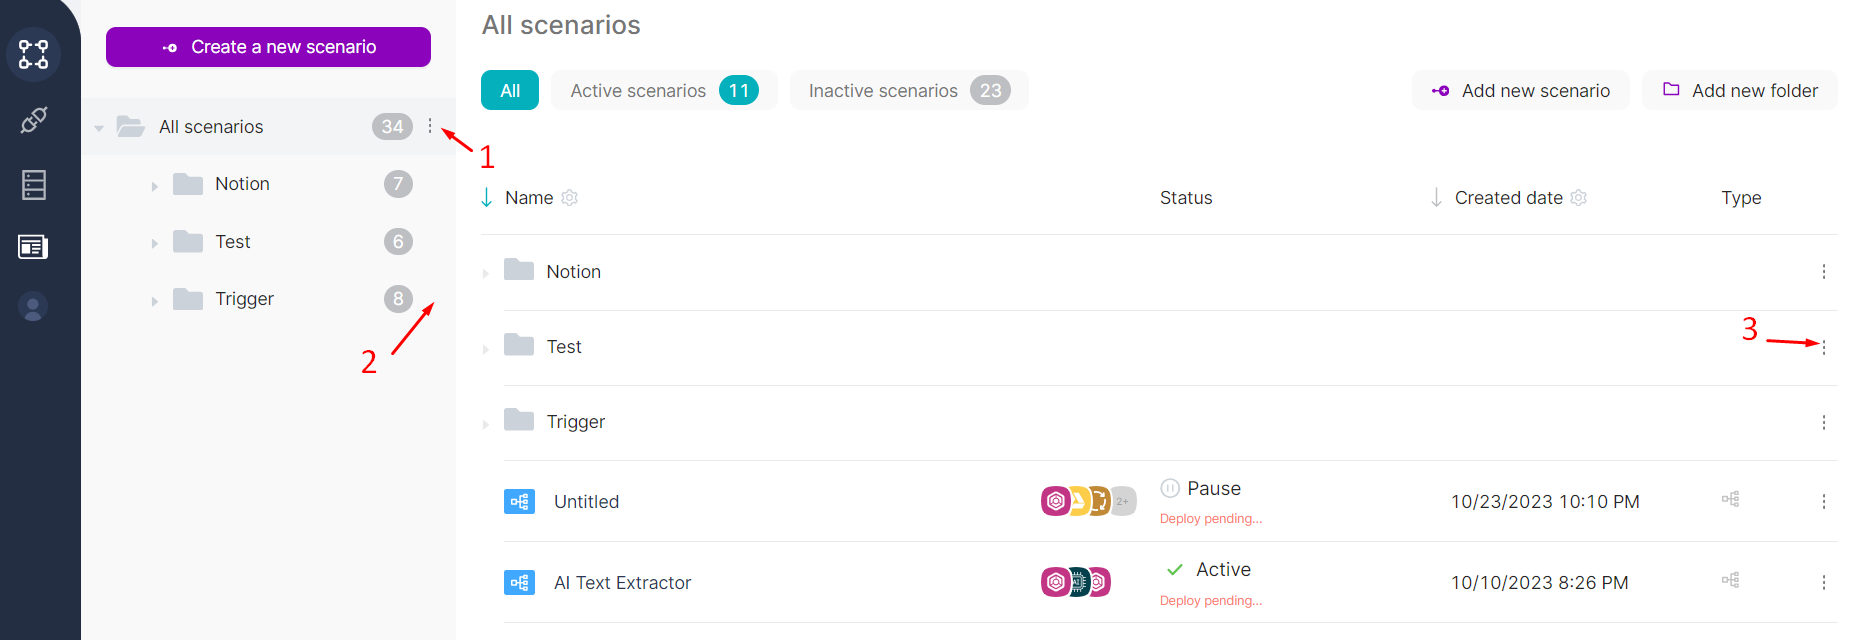
- Click Import a folder or scenario.
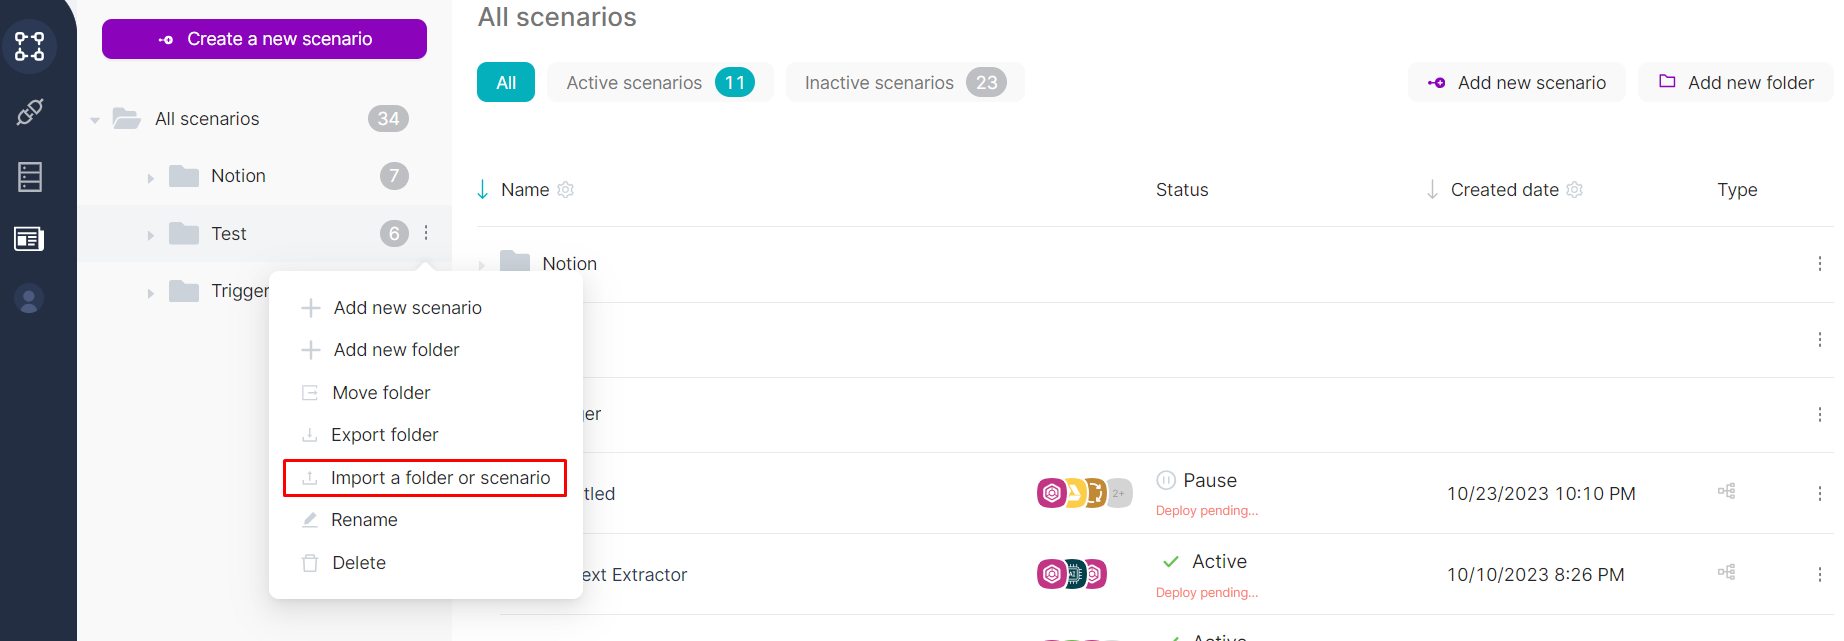
- Select a file and confirm upload.
- Verify that the imported scenario appears (by default, it is not active and not published).
Webhook URL uniqueness check
When importing a scenario, Latenode checks that the imported Trigger on Webhook node is unique by URL. If the URL is not unique, the import won’t proceed.
Creating a scenario
To create a new scenario, click Create new scenario (or Add new scenario) on the scenarios list page.
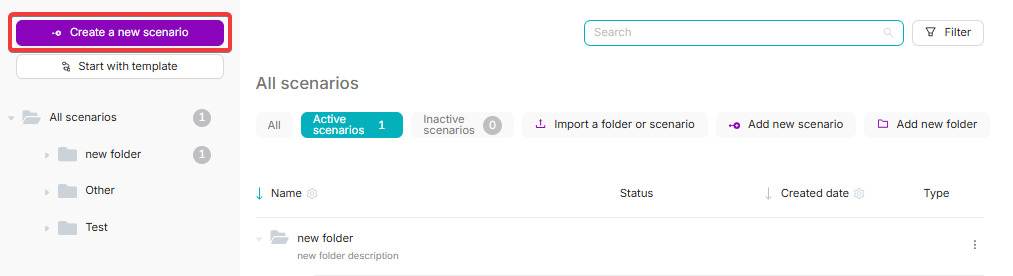
After you click it, Latenode opens the scenario editor.
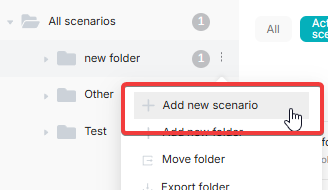
Create scenarios inside folders
You can add scenarios to specific folders by using Add new scenario from the folder menu.
Latenode IP Address for Whitelisting
IPs to allow for external connections.
Building Scenarios
Steps for setting up an automation scenario in Latenode.
Need Help? Ask the community
If something on this page is missing or unclear, post on the Latenode community forum. Our team and other users usually reply quickly.