Building Scenarios
Saving a Scenario
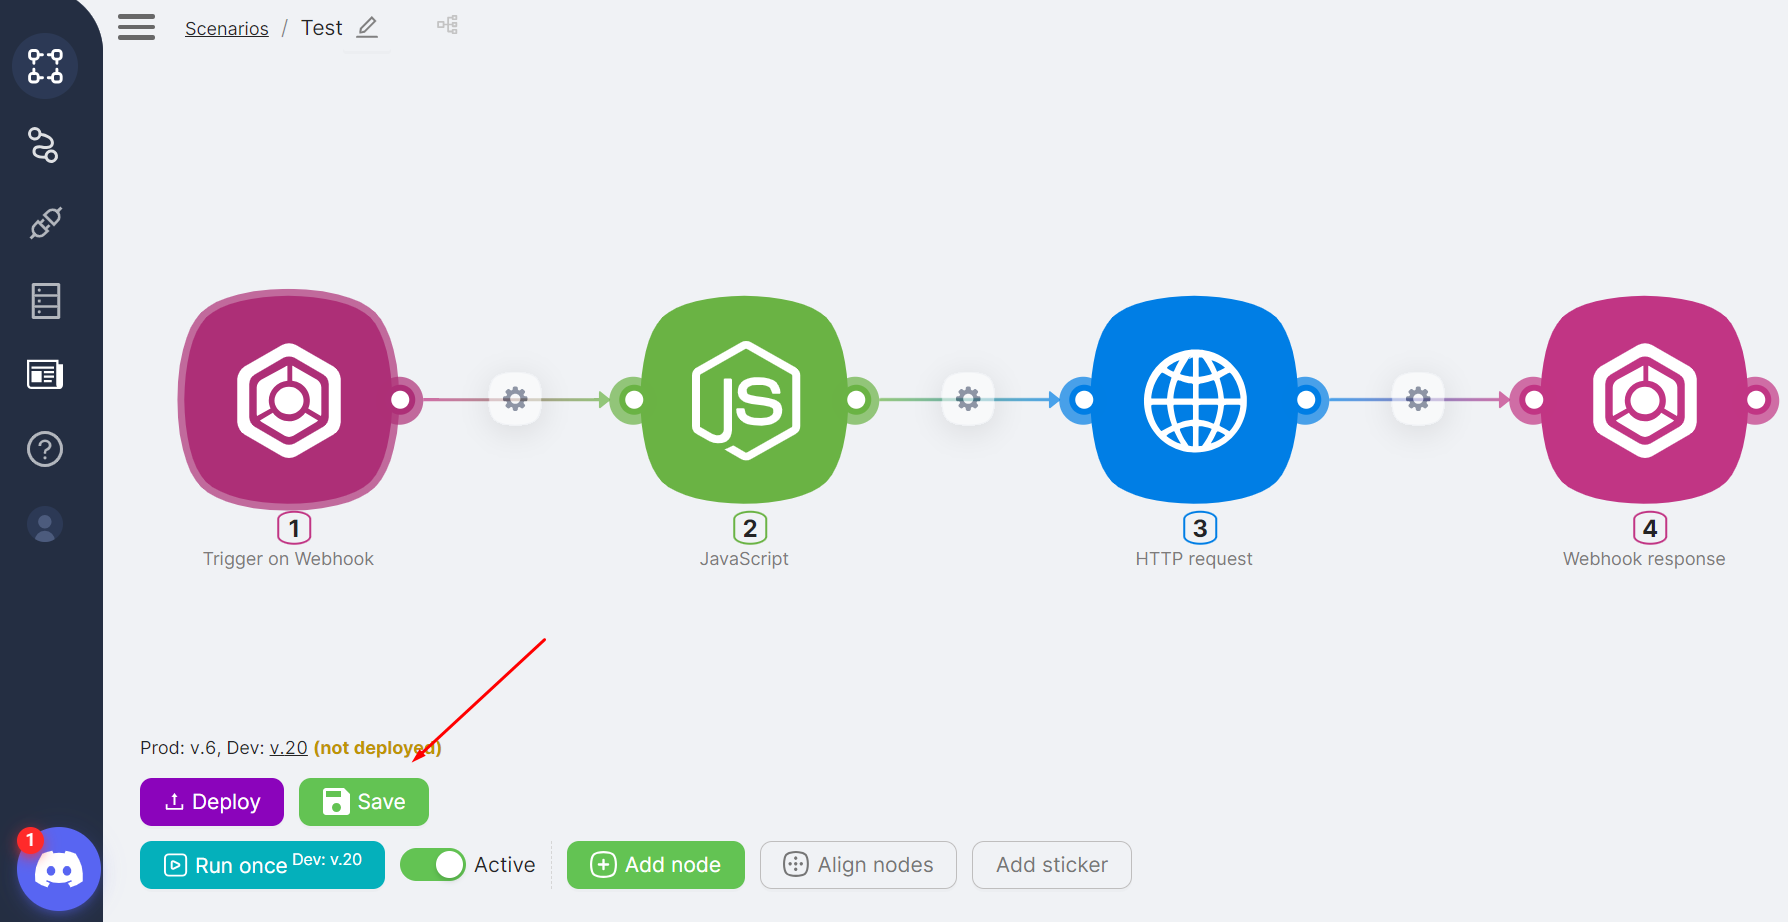
After adding a scenario, rename it (if needed), add a description, and click Save.
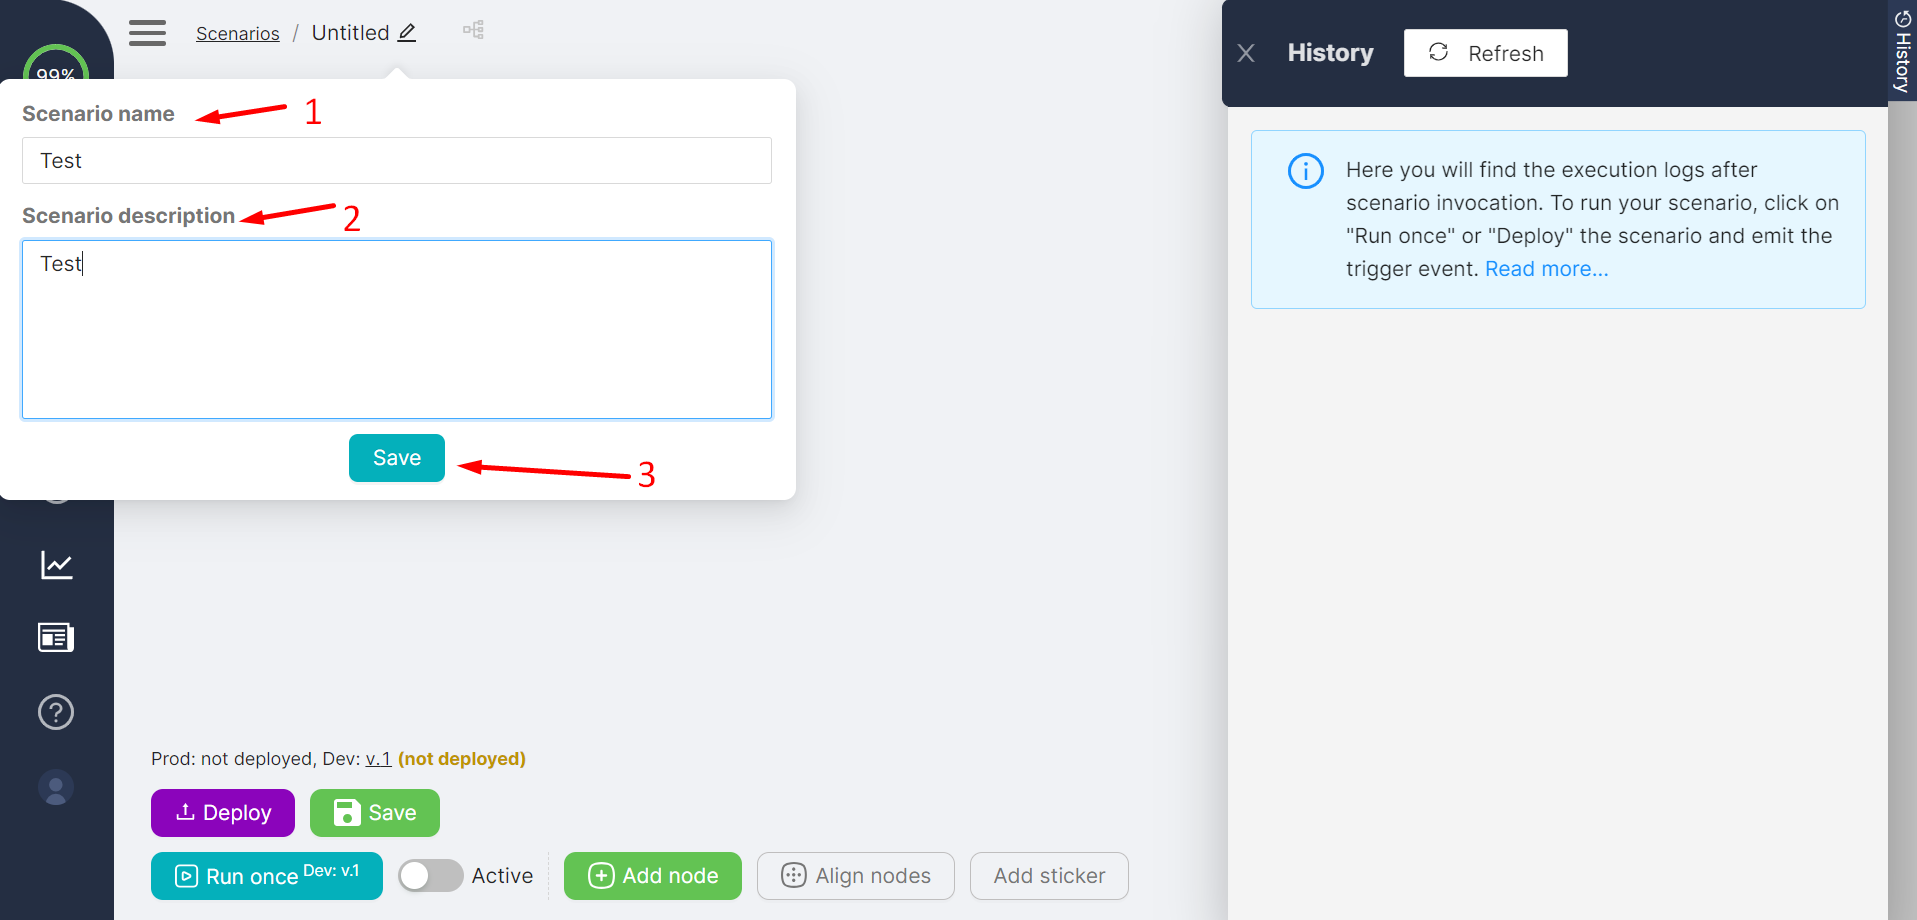
Save regularly
The Save button becomes active as soon as you make changes to the scenario or its nodes. To avoid losing changes, save your work regularly.
Running a Scenario
One-time Execution
Before running the scenario
Before running a scenario, you need to configure it. If you're just starting out, see Your first scenario in 15 minutes.
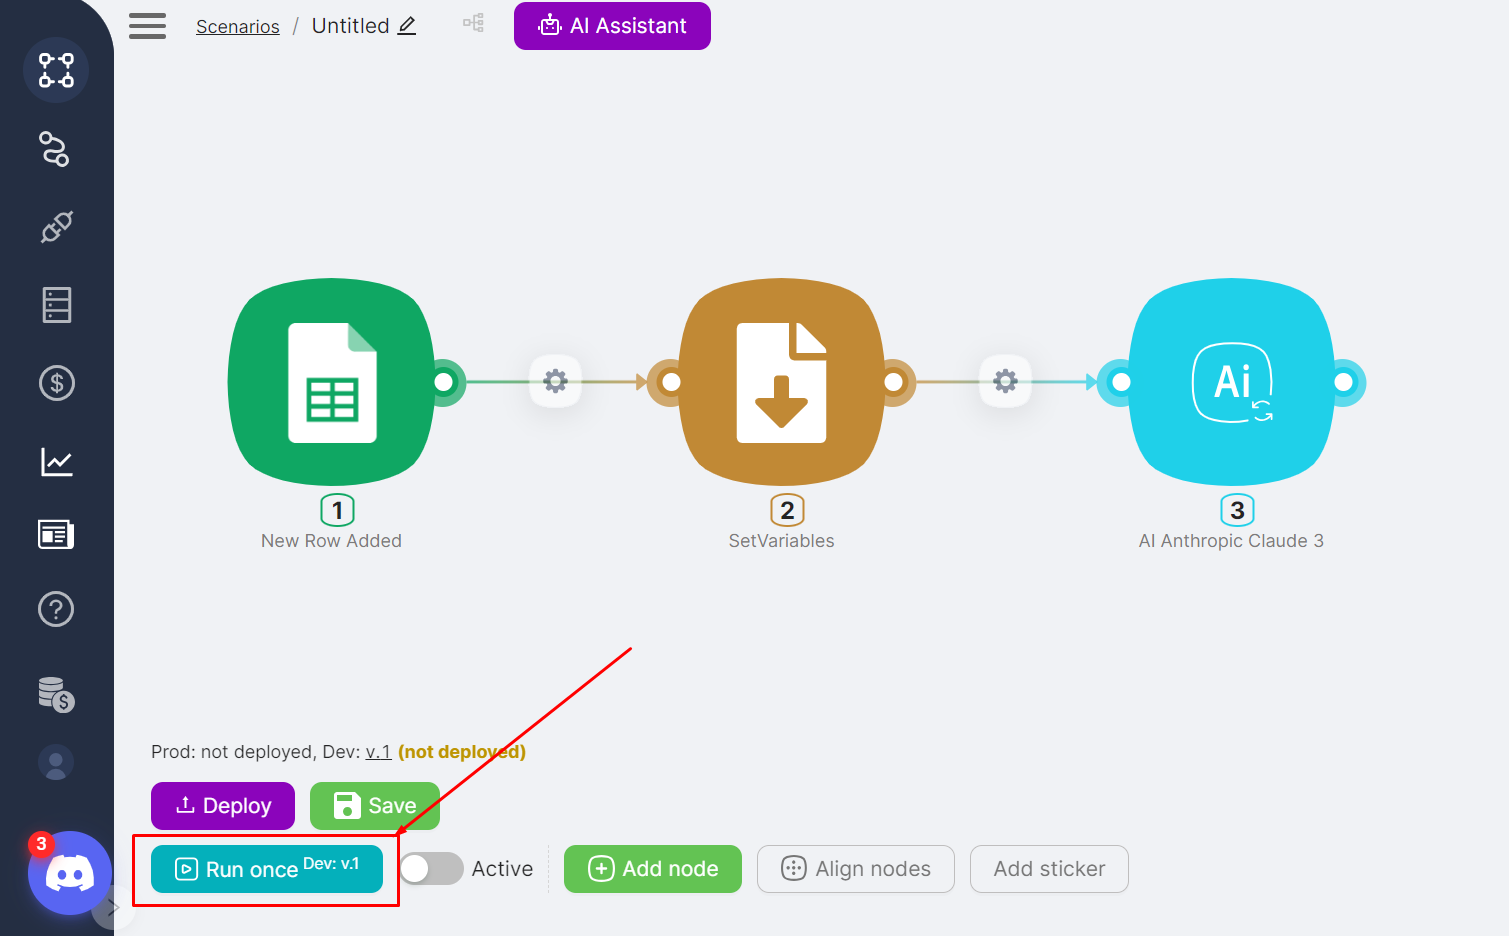
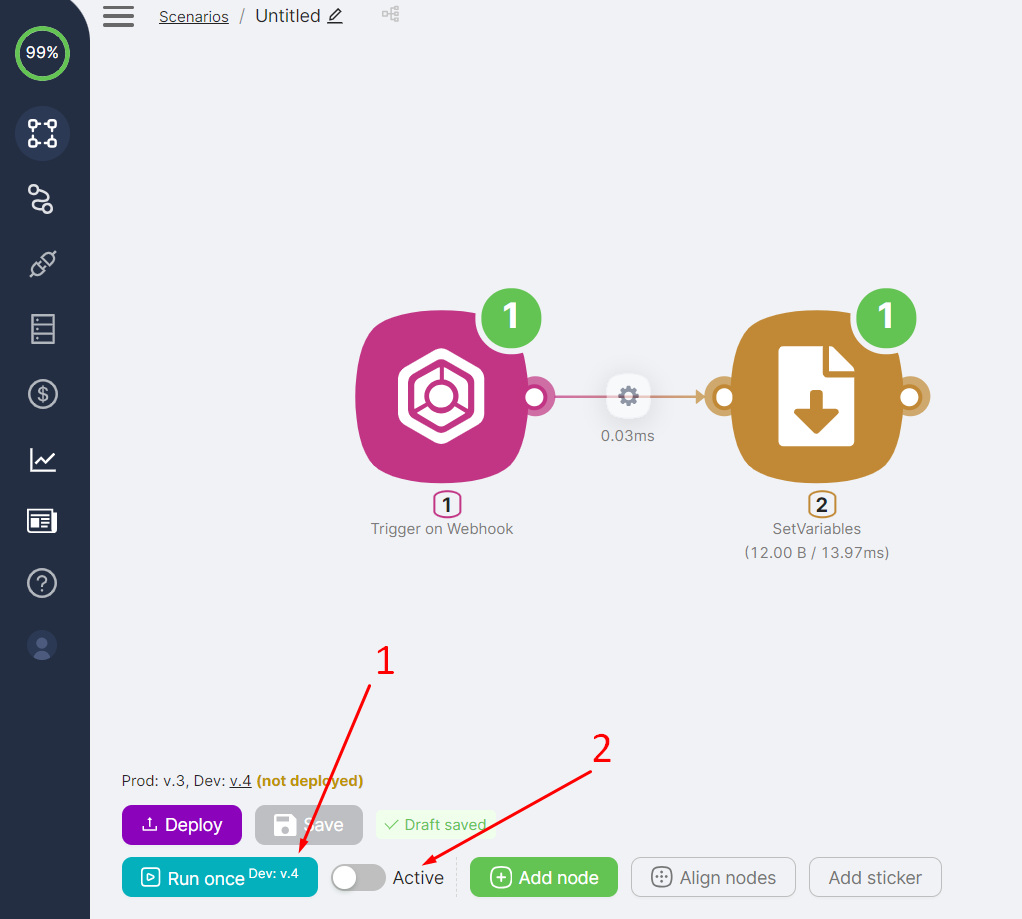
Click Run Once to execute the scenario once. This is useful for testing and debugging.
Depending on the trigger node:
- If the trigger node is an app node, create an event in the external application to trigger the scenario.
- If the trigger node is Trigger on Webhook, send an HTTP request to the node's URL.
- If the trigger node is Trigger on Schedule or Trigger on Run once, no additional actions are required.
After the scenario executes:
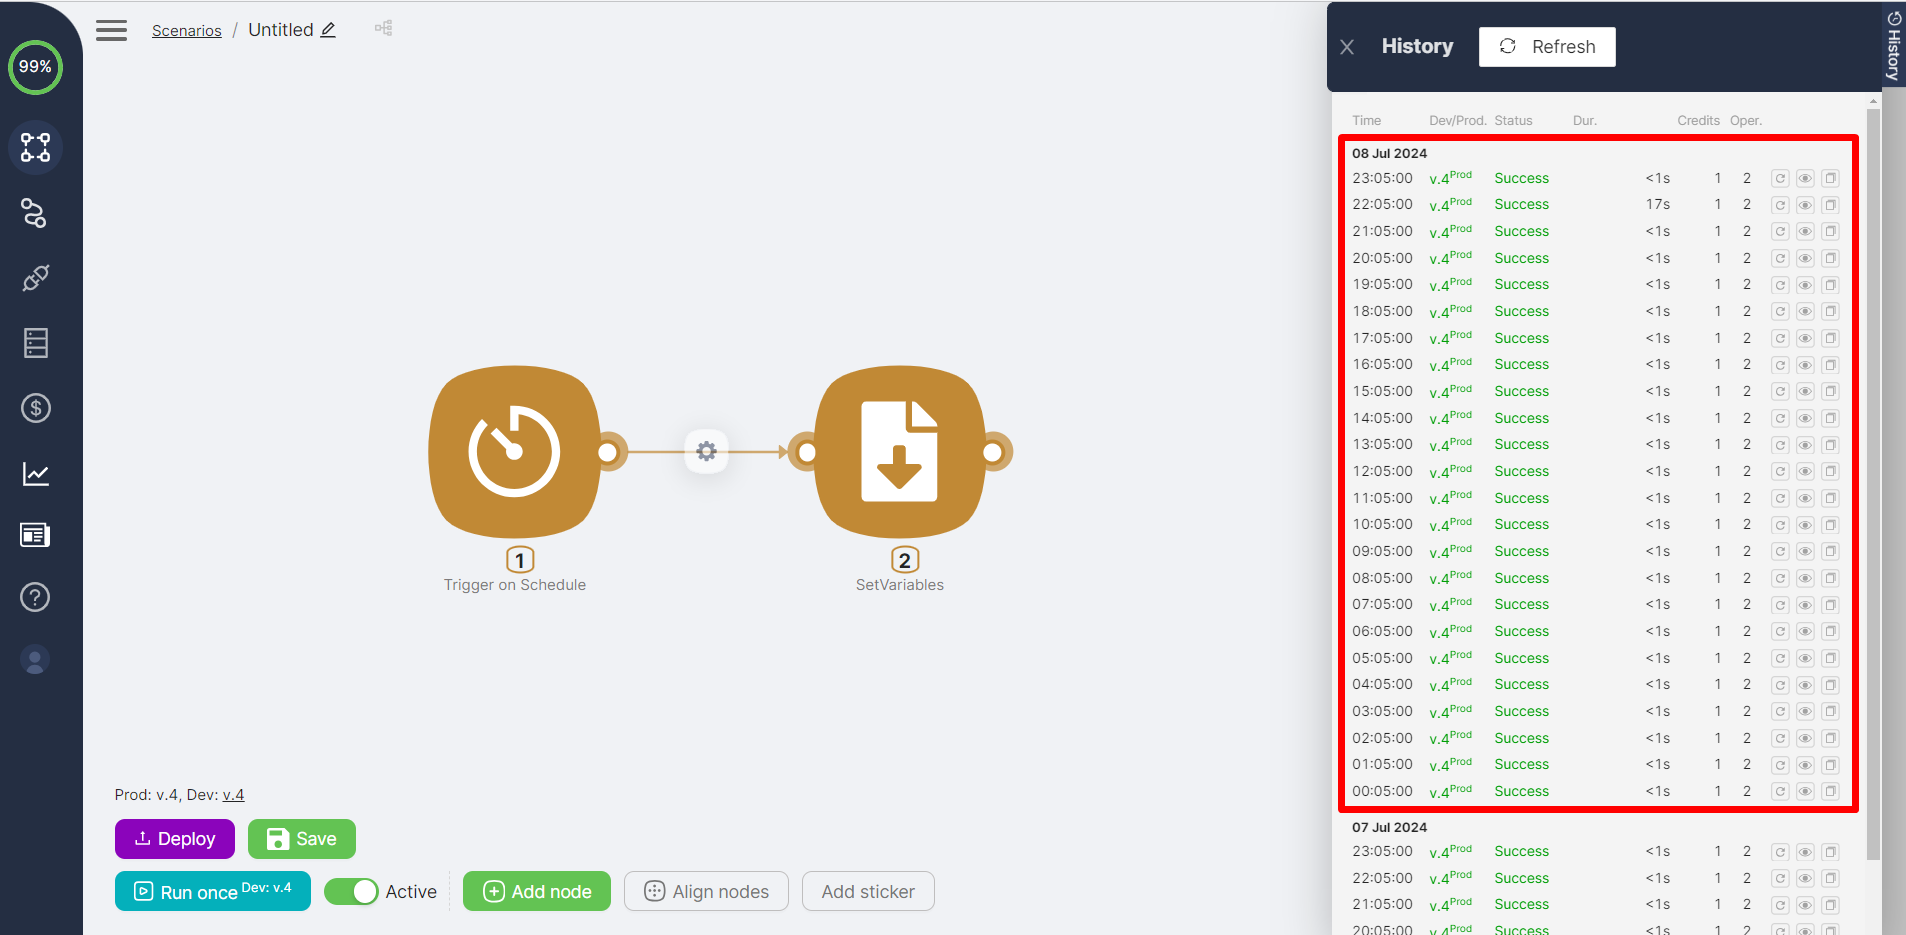
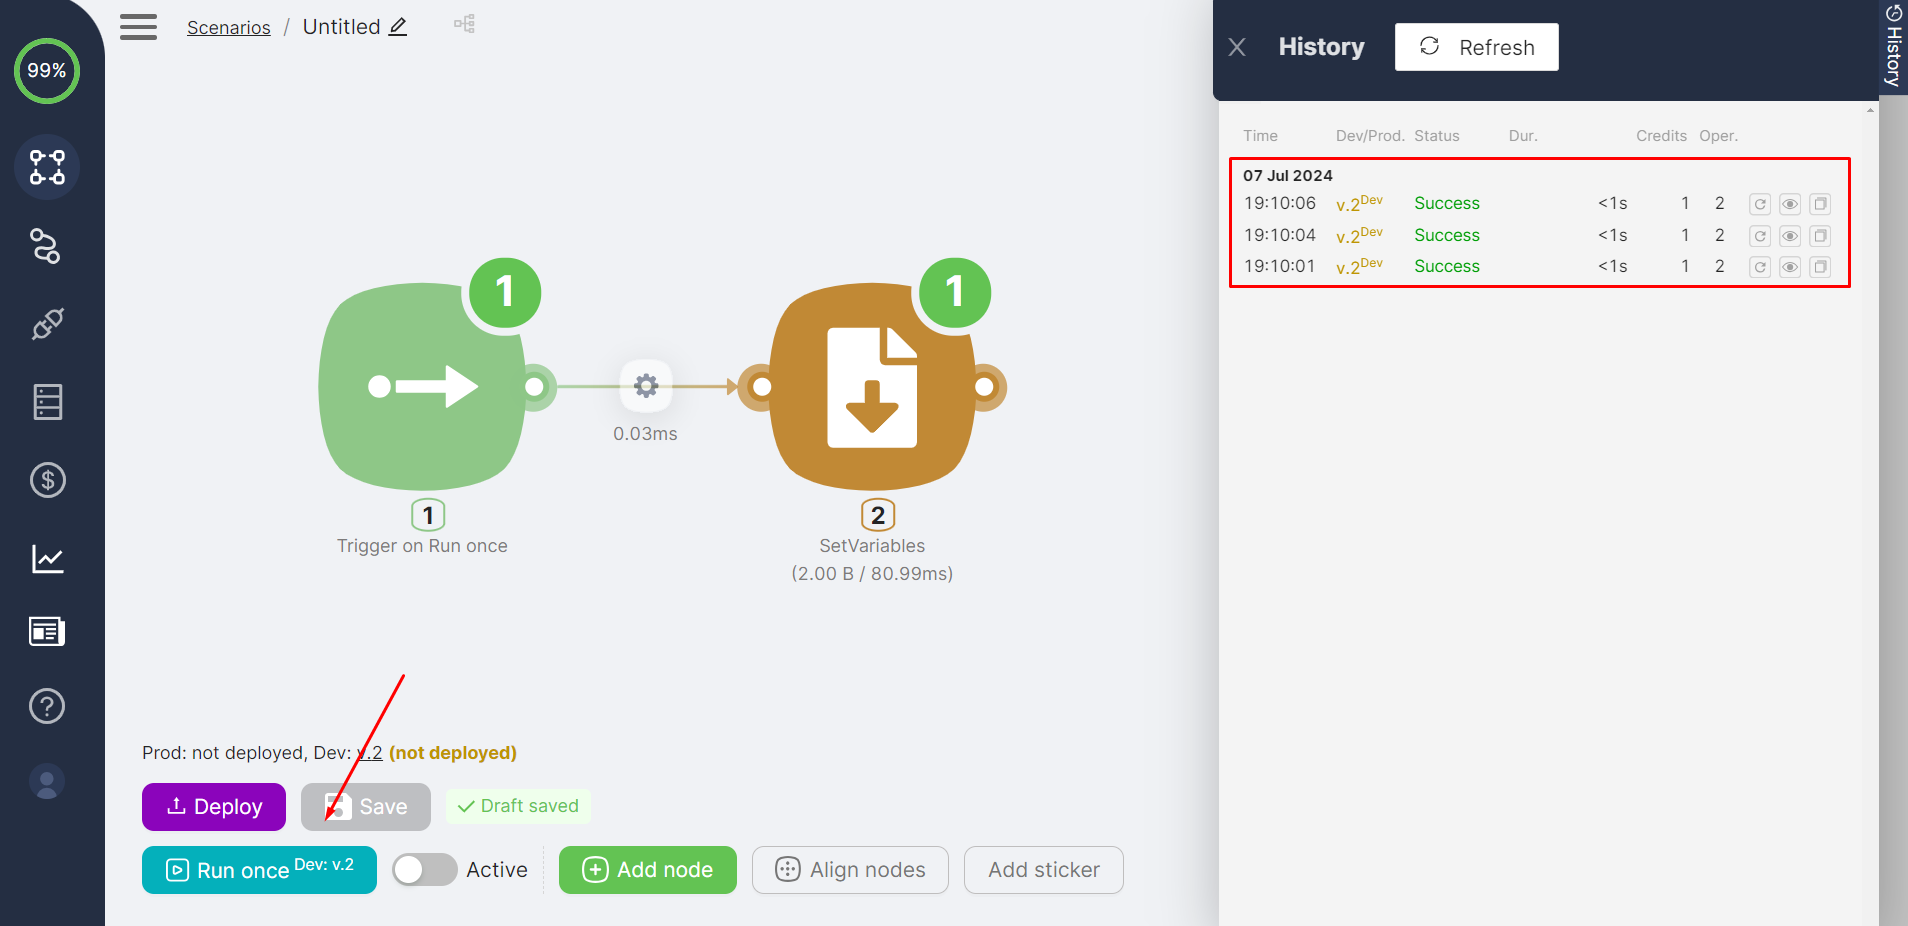
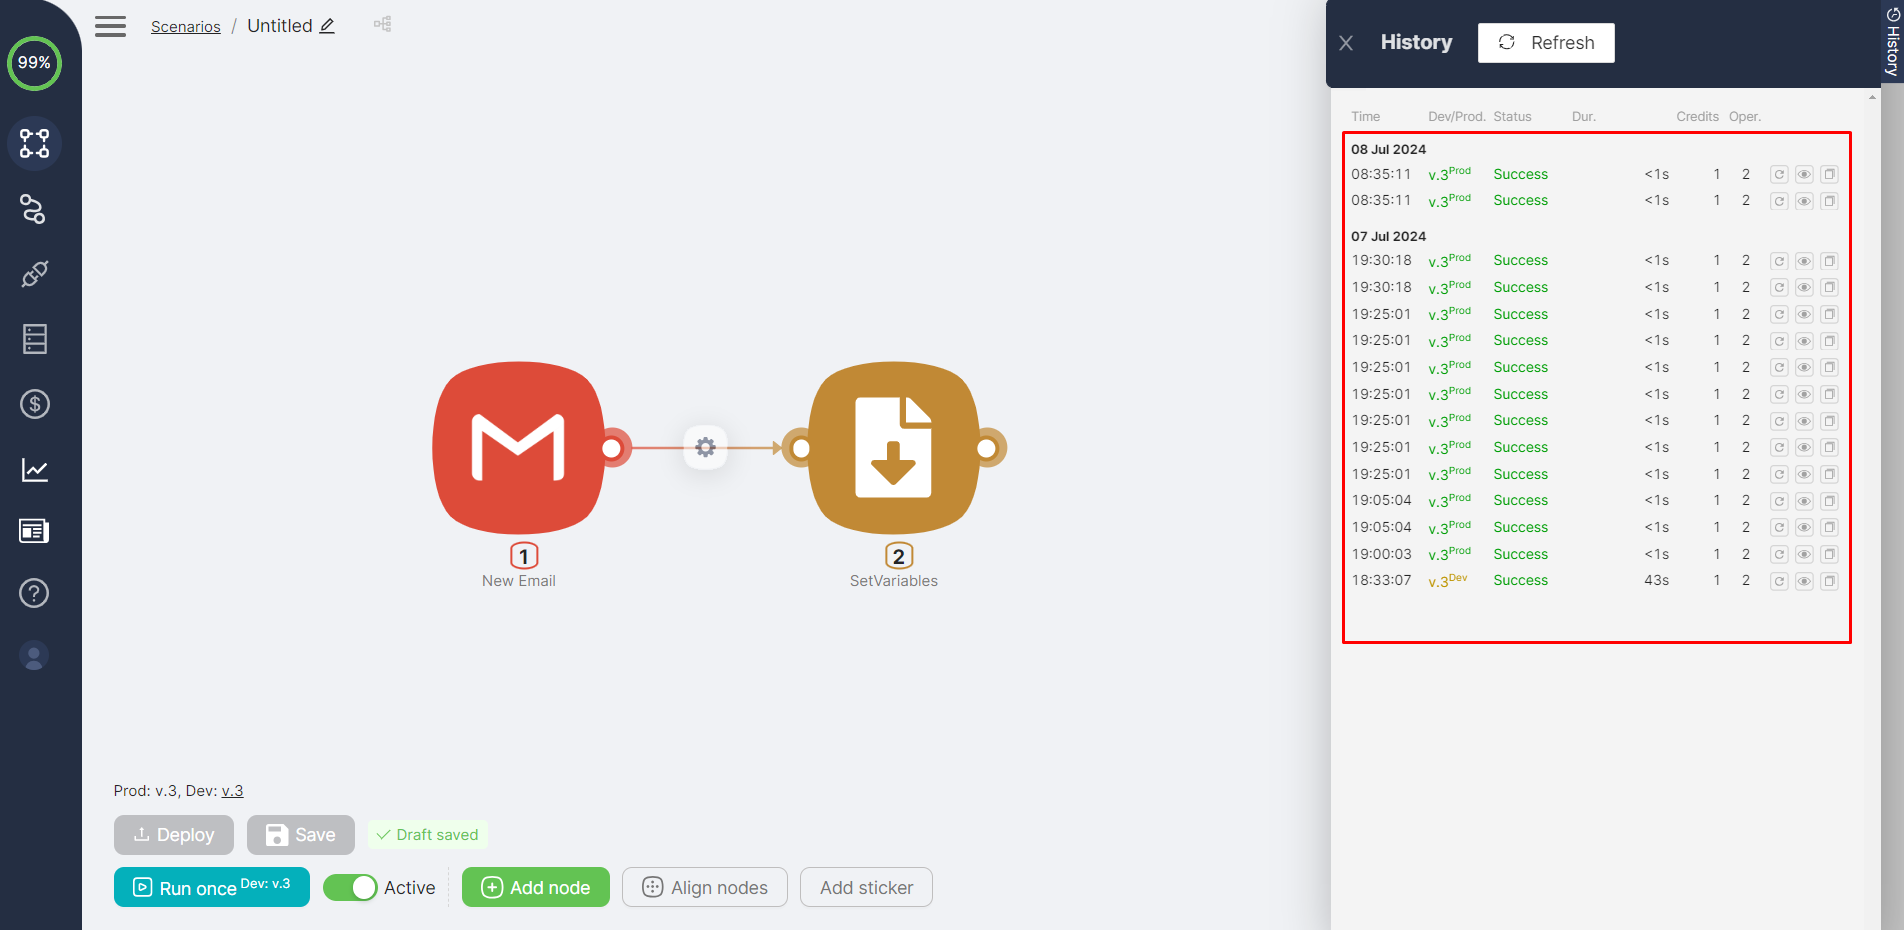
- Status icons (success / error) appear in the upper right corner of the nodes. Click on them to view details.
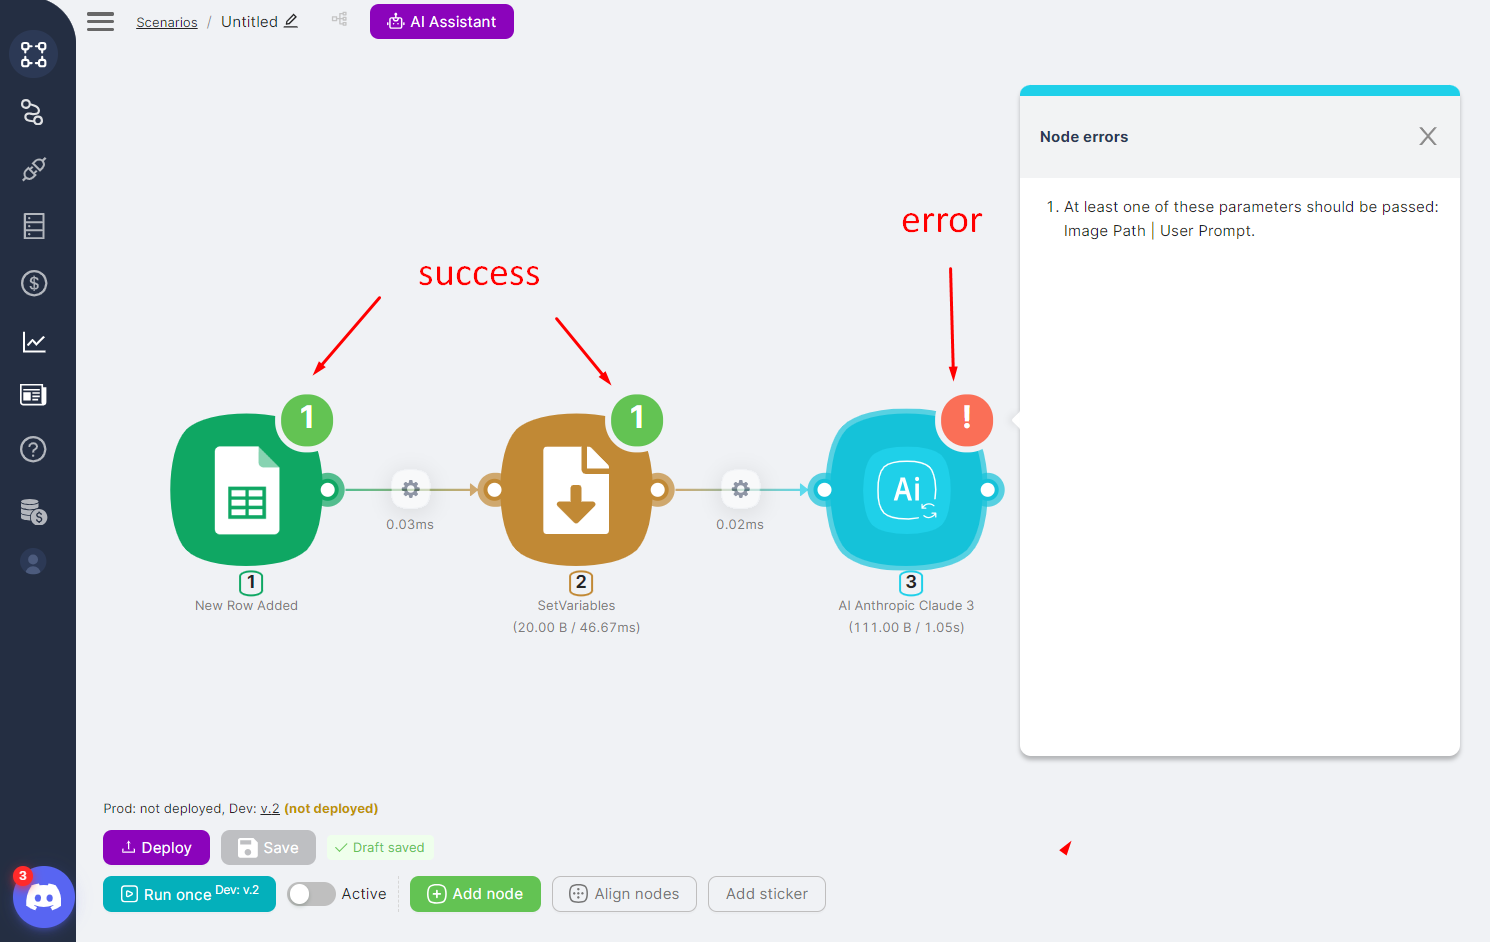
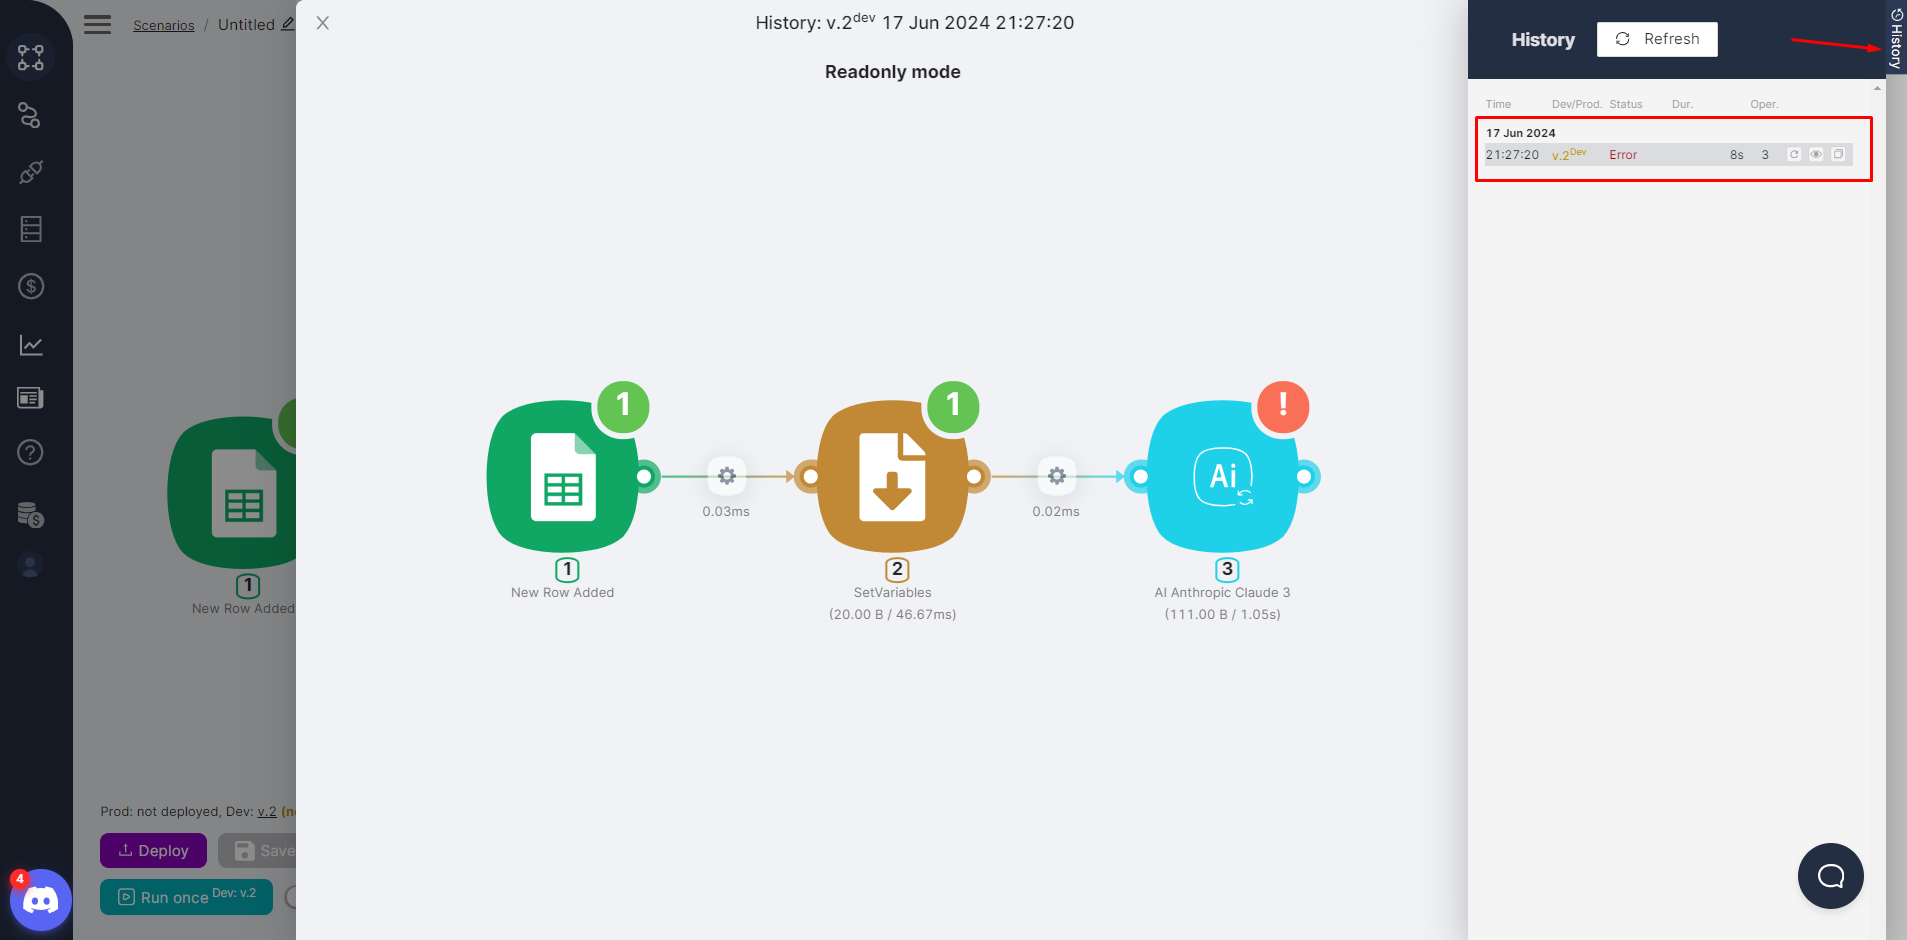
- A new entry appears in Execution History.
- The Data tab shows data from previous nodes.
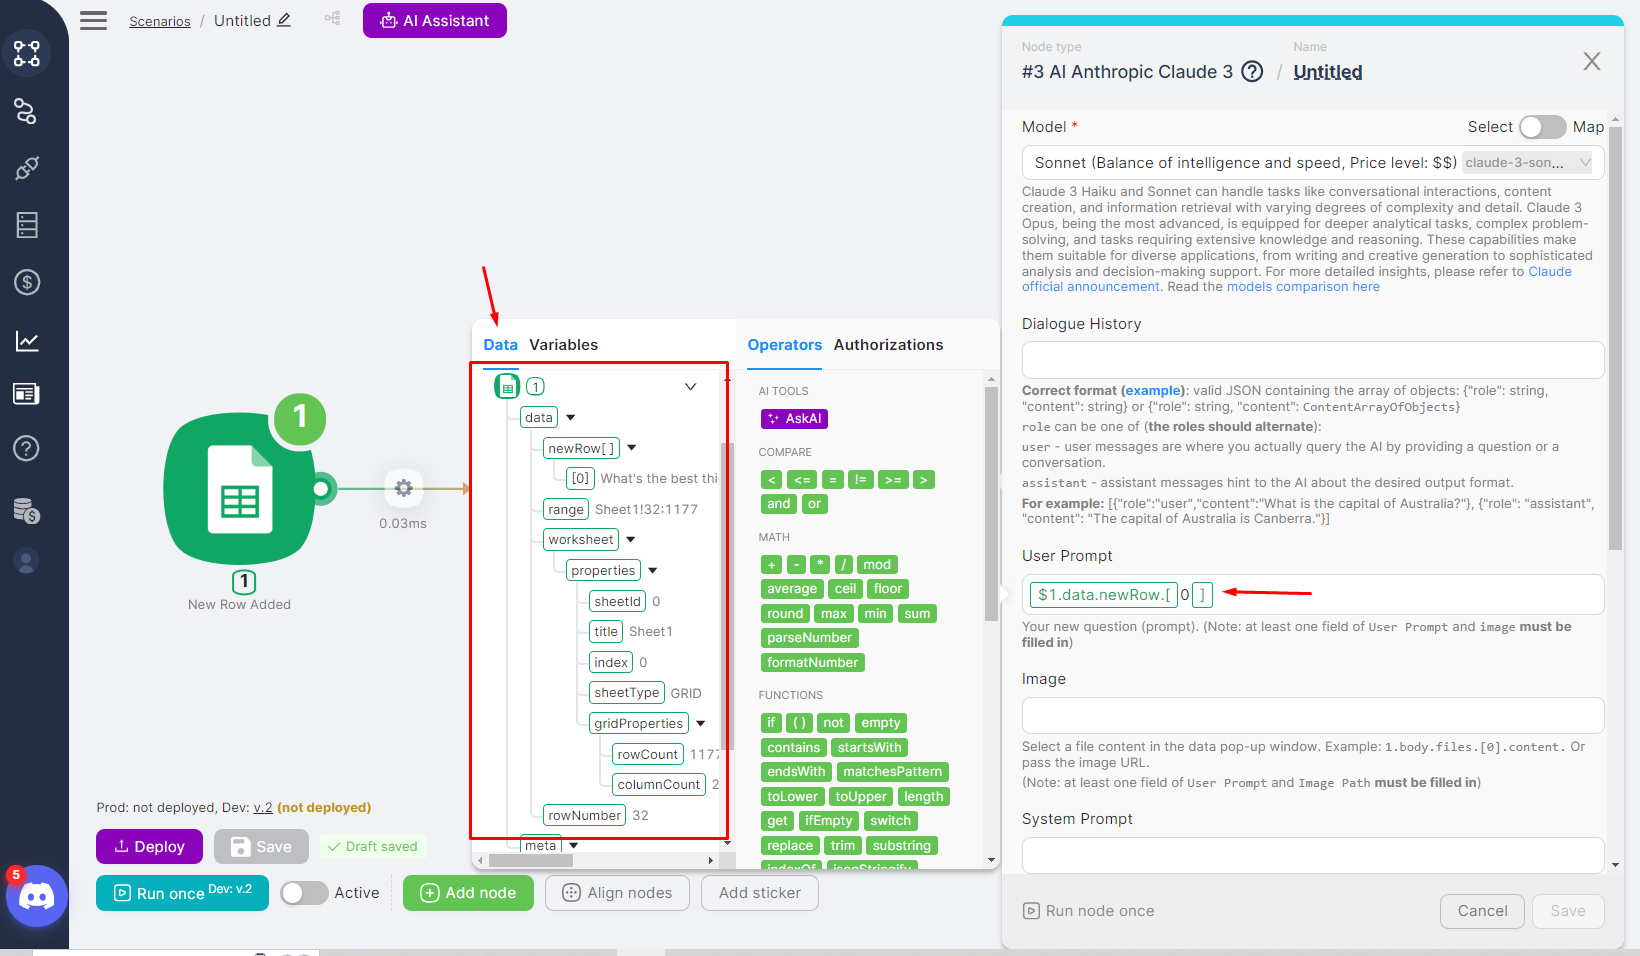
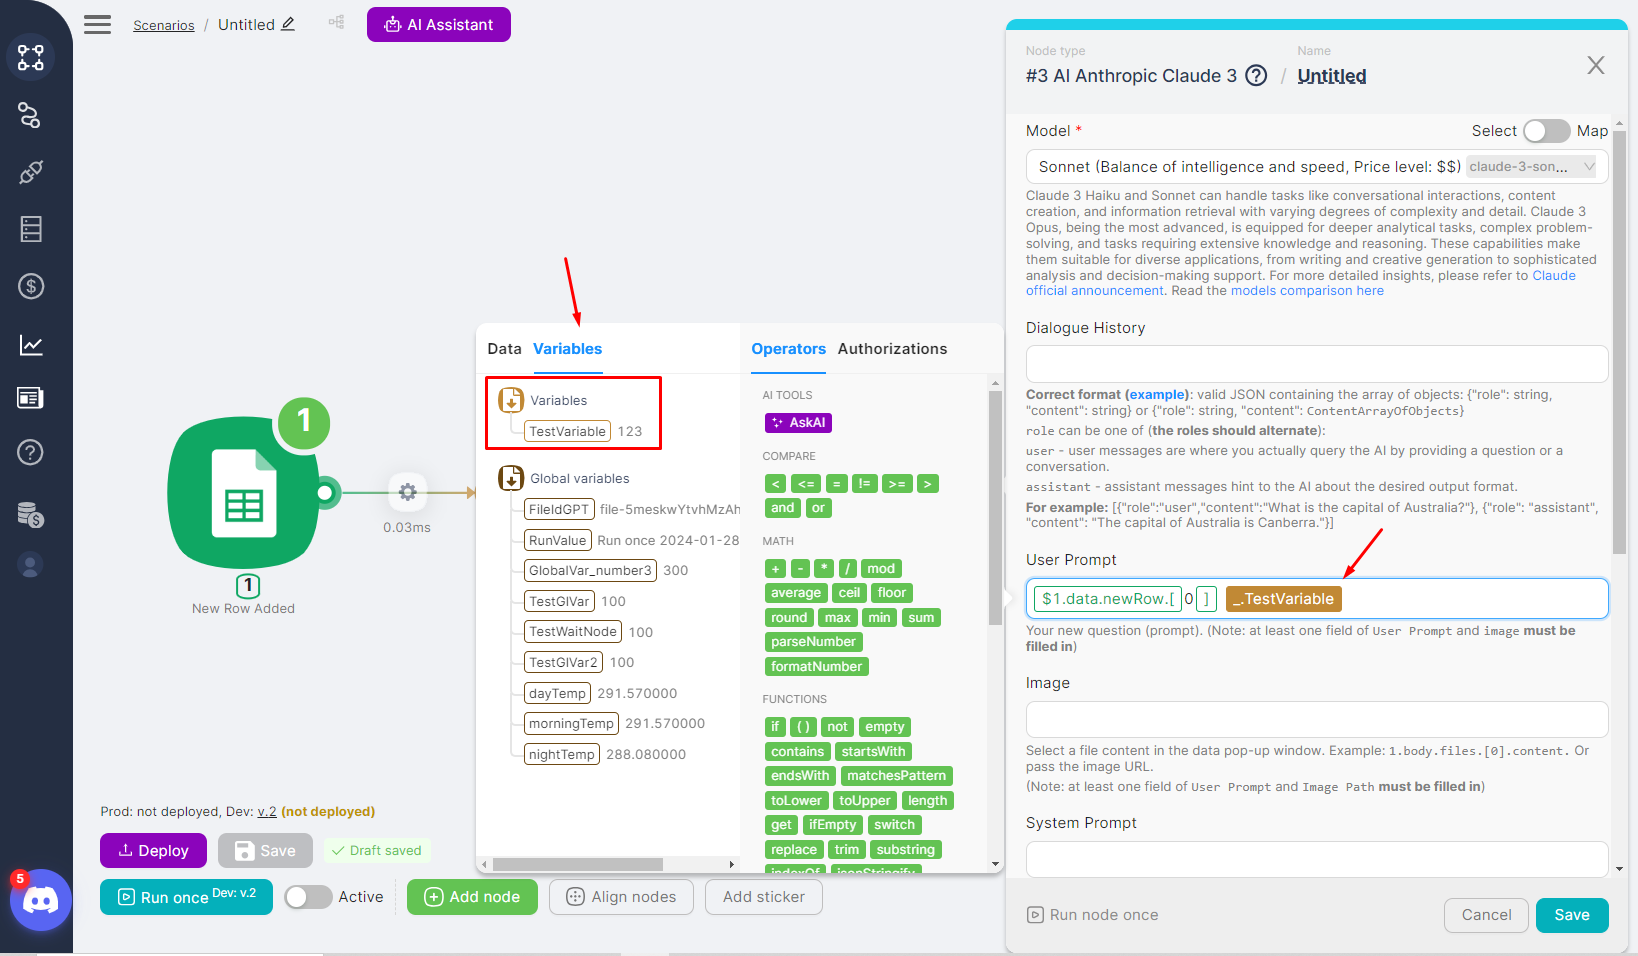
- The Variables tab shows variable data (if variables were created).
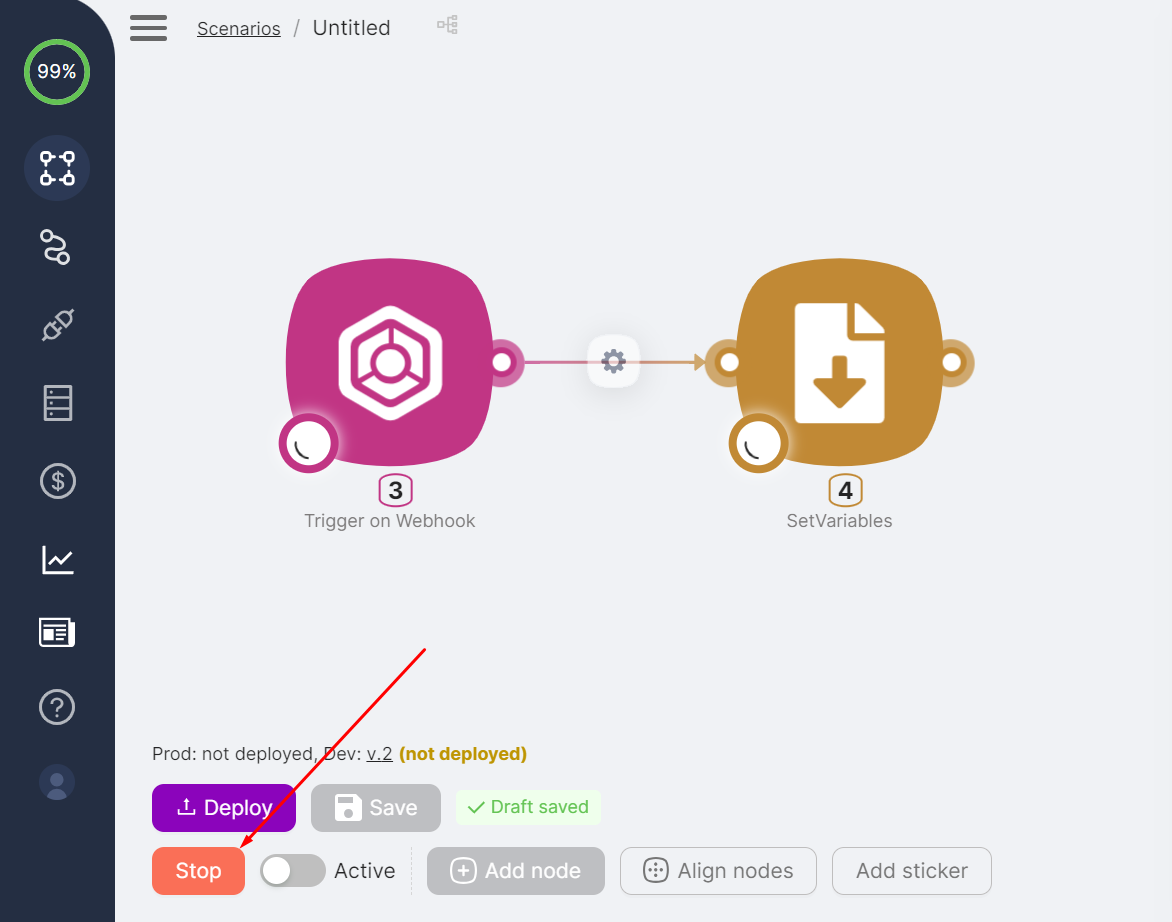
You can stop a one-time execution by clicking Stop.
Automatic Execution and Activation
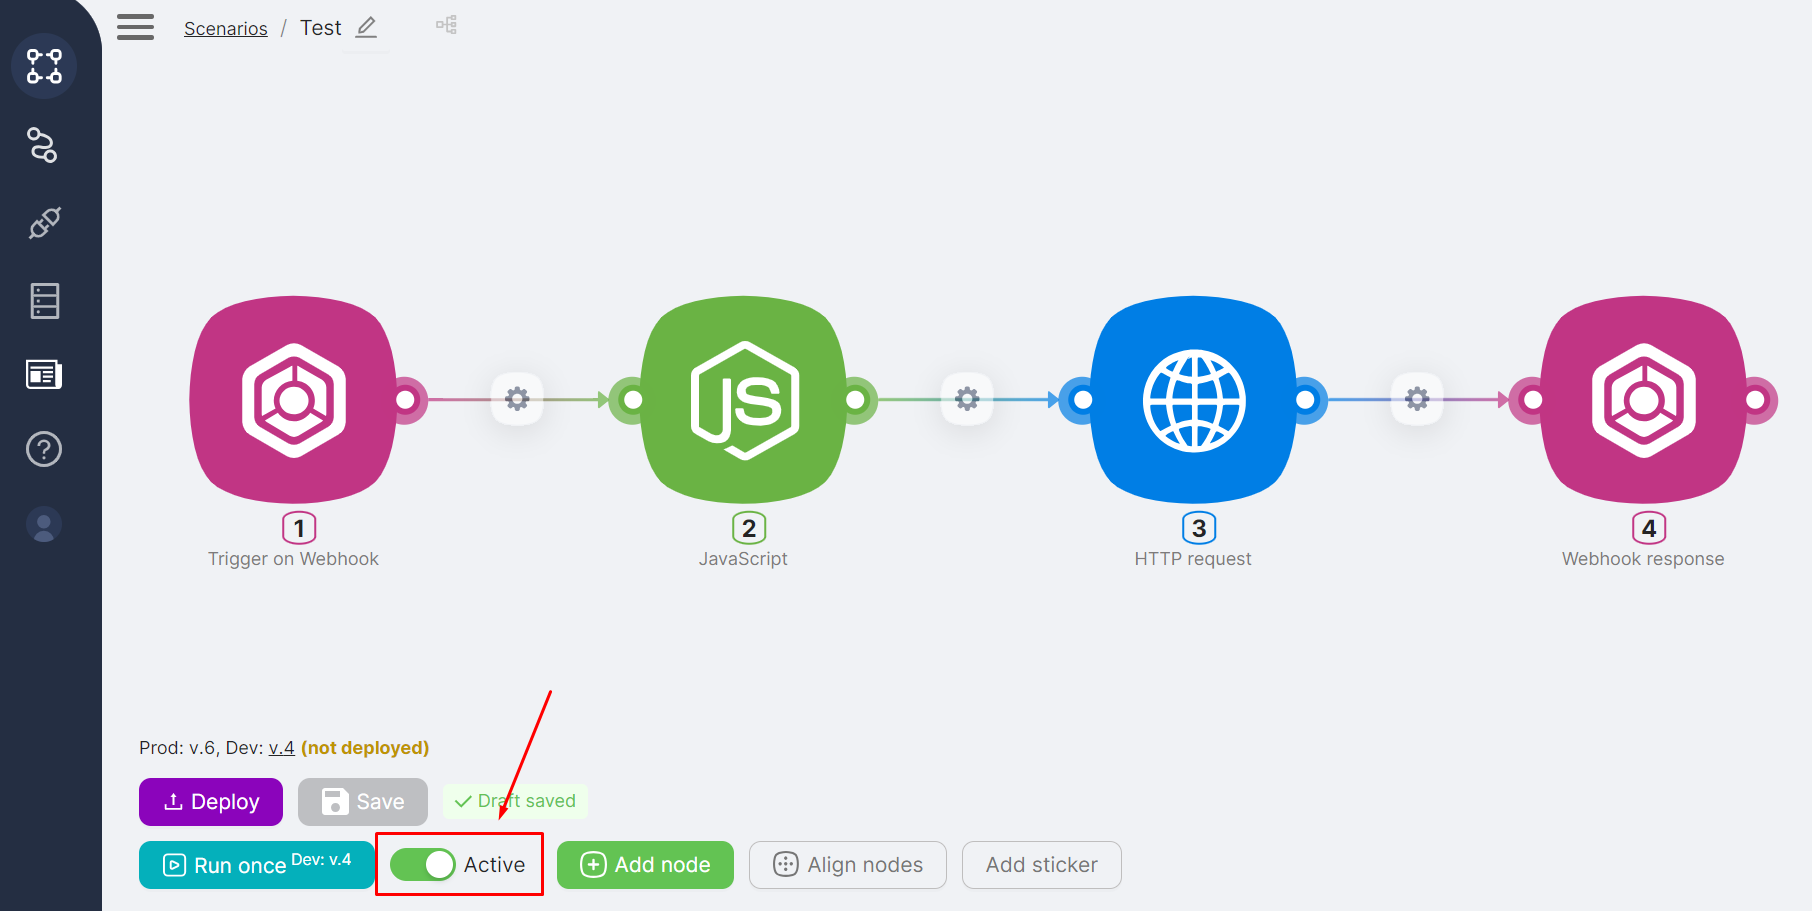
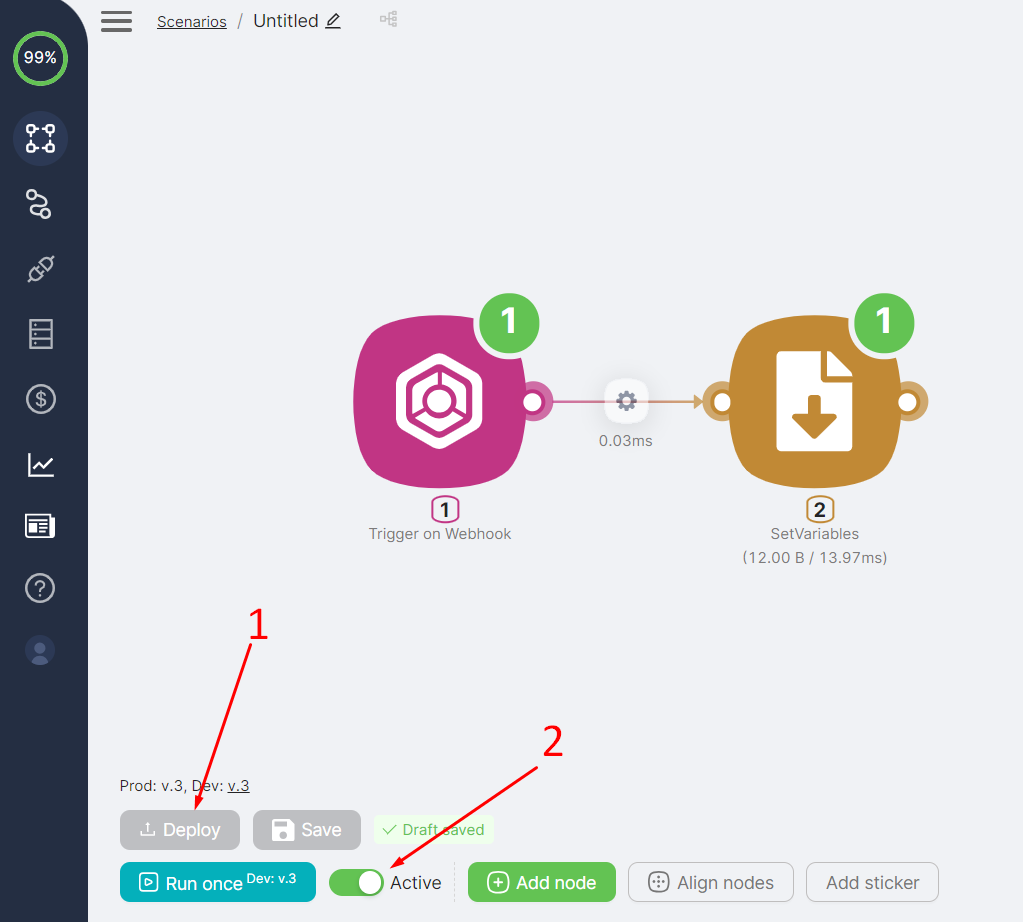
To enable automatic execution of the scenario, activate the scenario using the Active toggle at the bottom of the scenario page. When the scenario is active, it runs automatically in response to configured triggers (webhooks, schedules, or app events).
Notifications
Notifications about scenario execution results are displayed only when running the scenario manually.
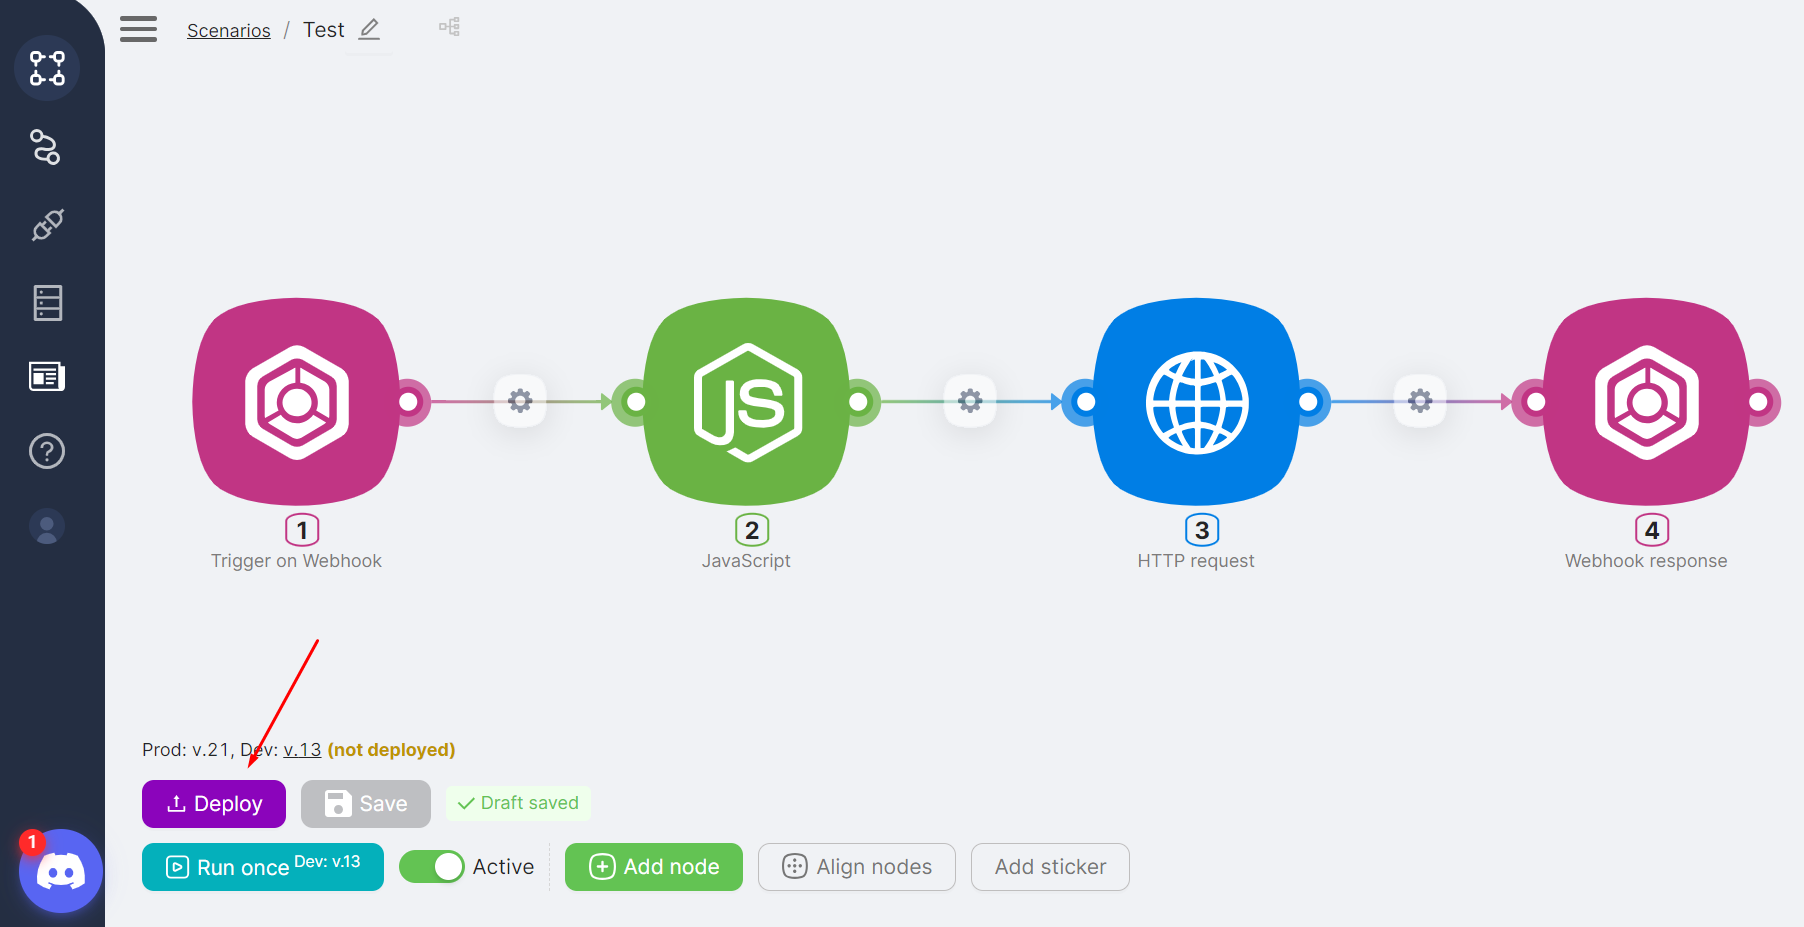
Deployment and Scenario Branches
Scenarios have two branches:
- Development: for testing configuration and data processing results
- Production: for the production version of the scenario
Development and Production can be edited and executed independently.
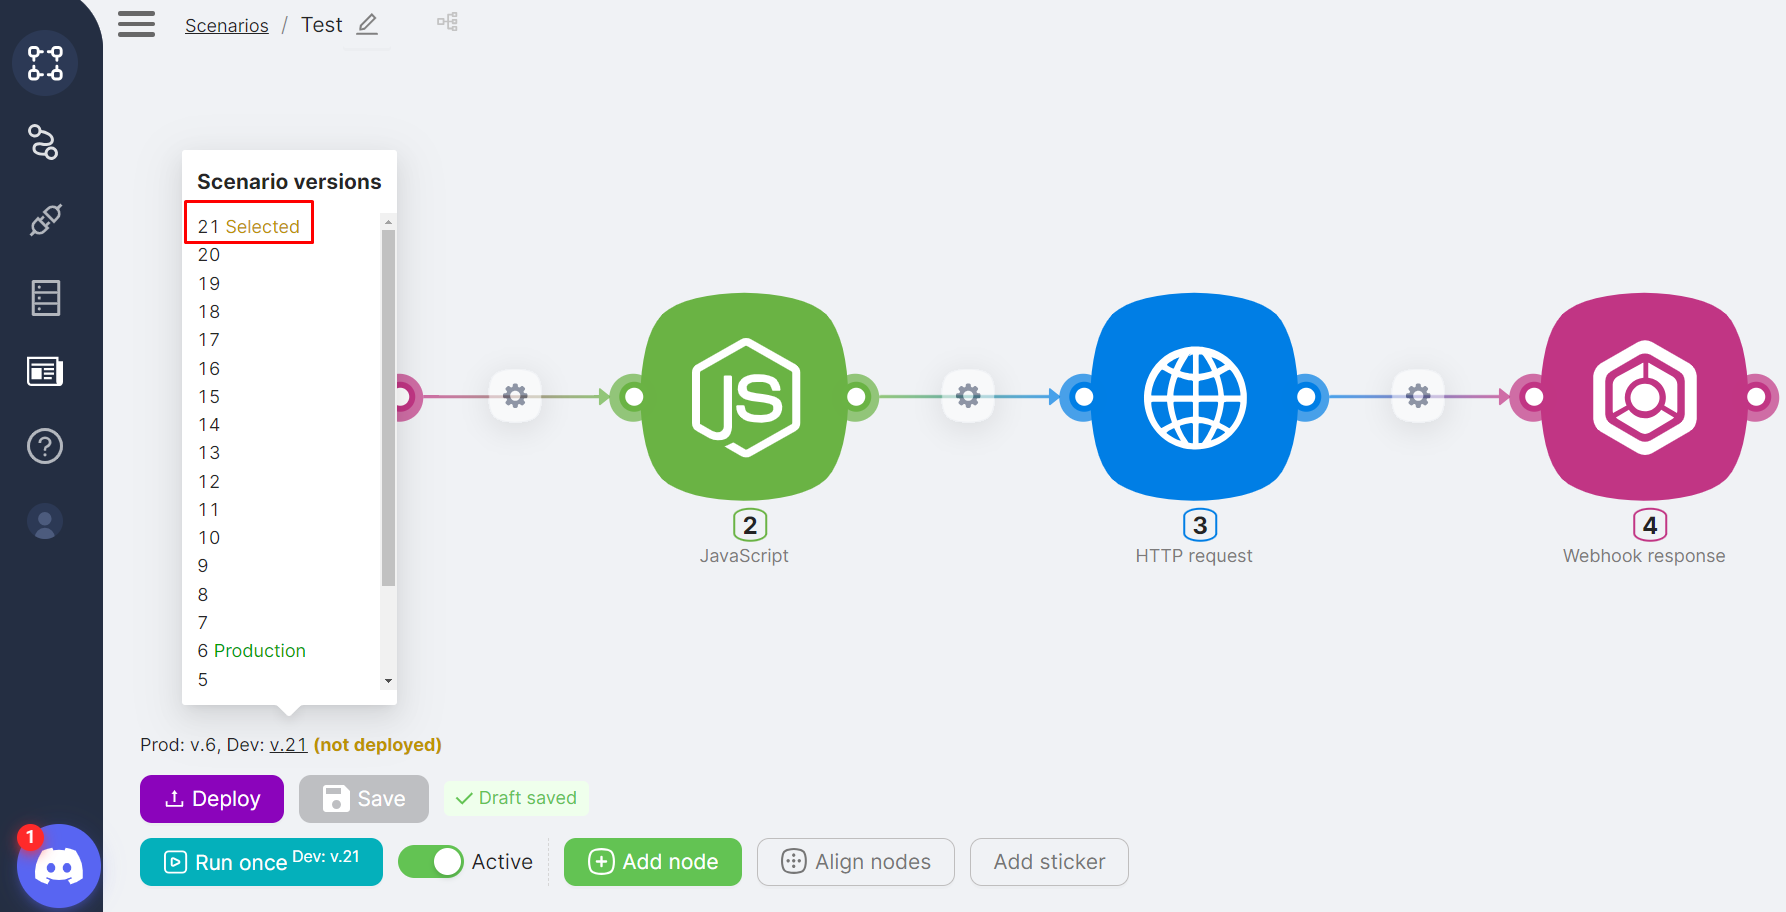
To create a new Development version and publish it to Production:
- Click Save to create a new version.
- Ensure that the next Development version appears in the version list.
- Click Deploy.
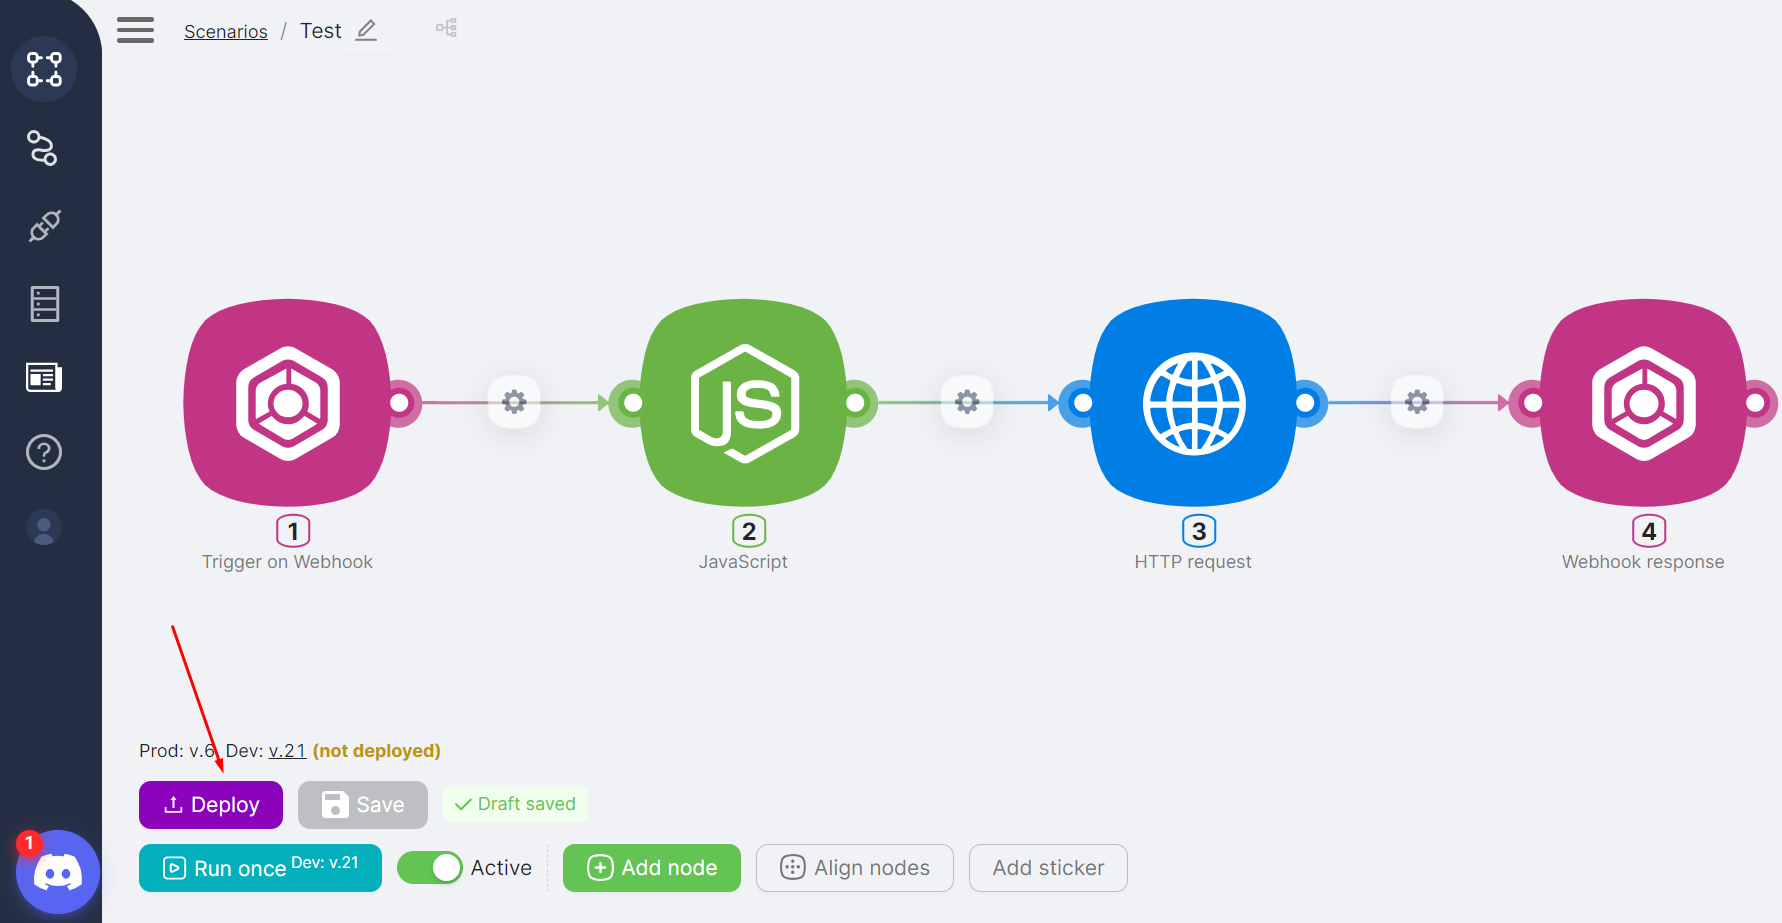
- Ensure that the Production branch appears in the version list.
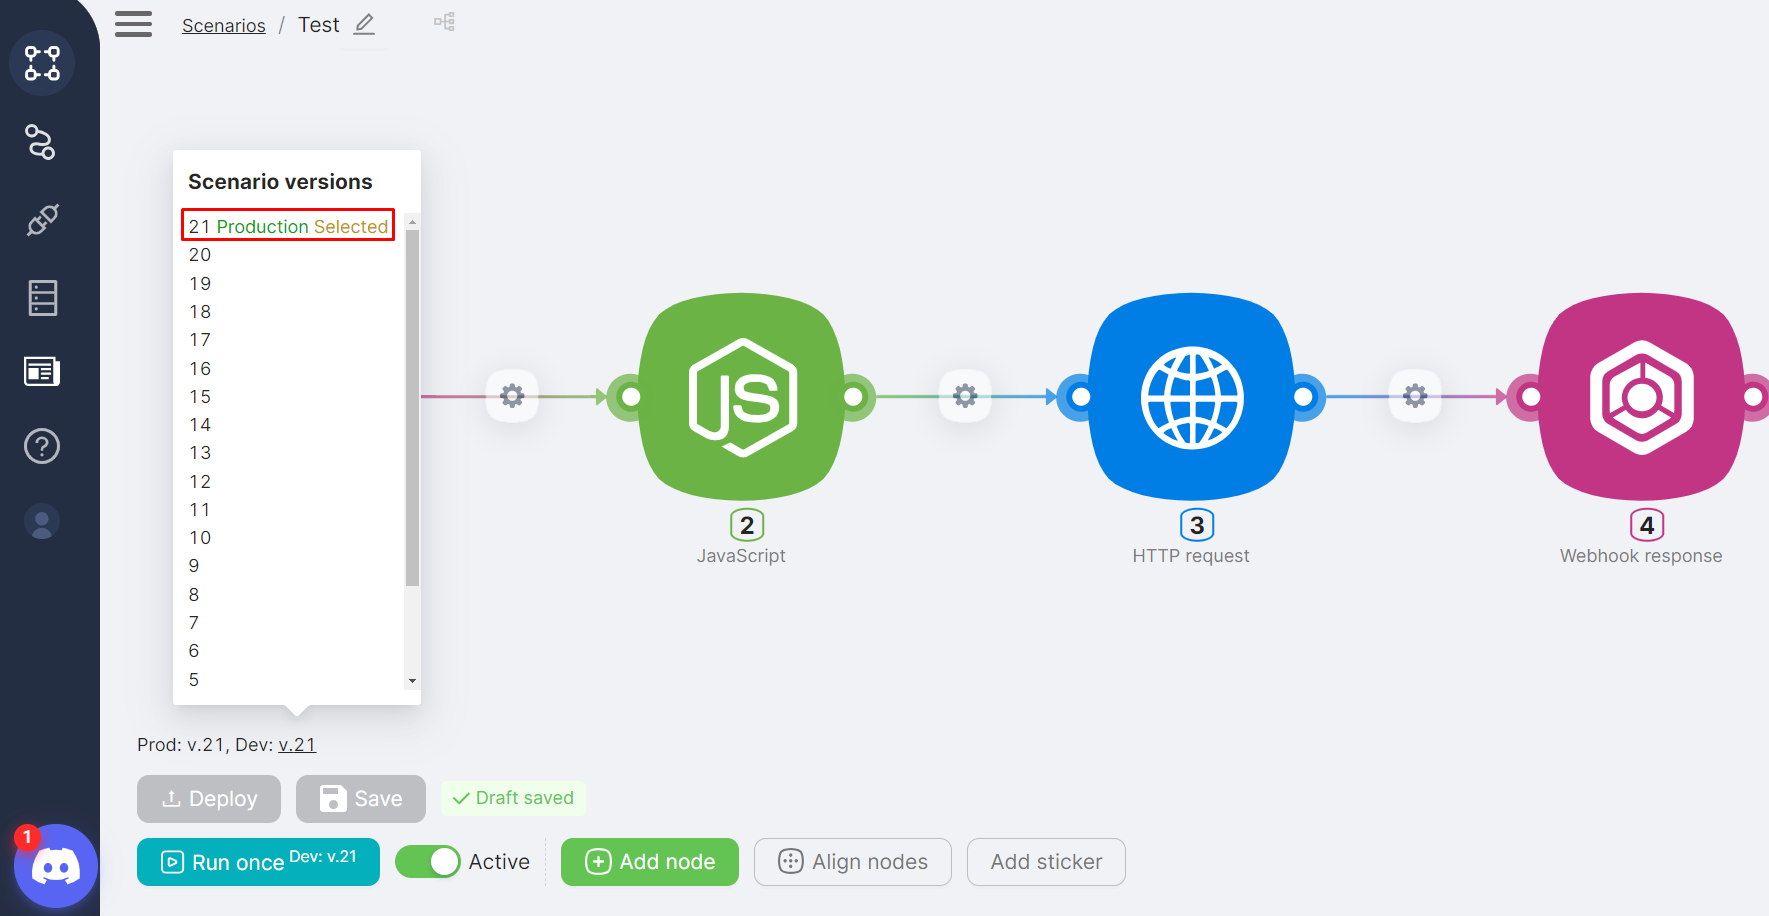
Version labels
Selected indicates the currently selected scenario version. Production indicates the Production branch.
If needed, you can roll back the Production branch:
- Select a previous version.
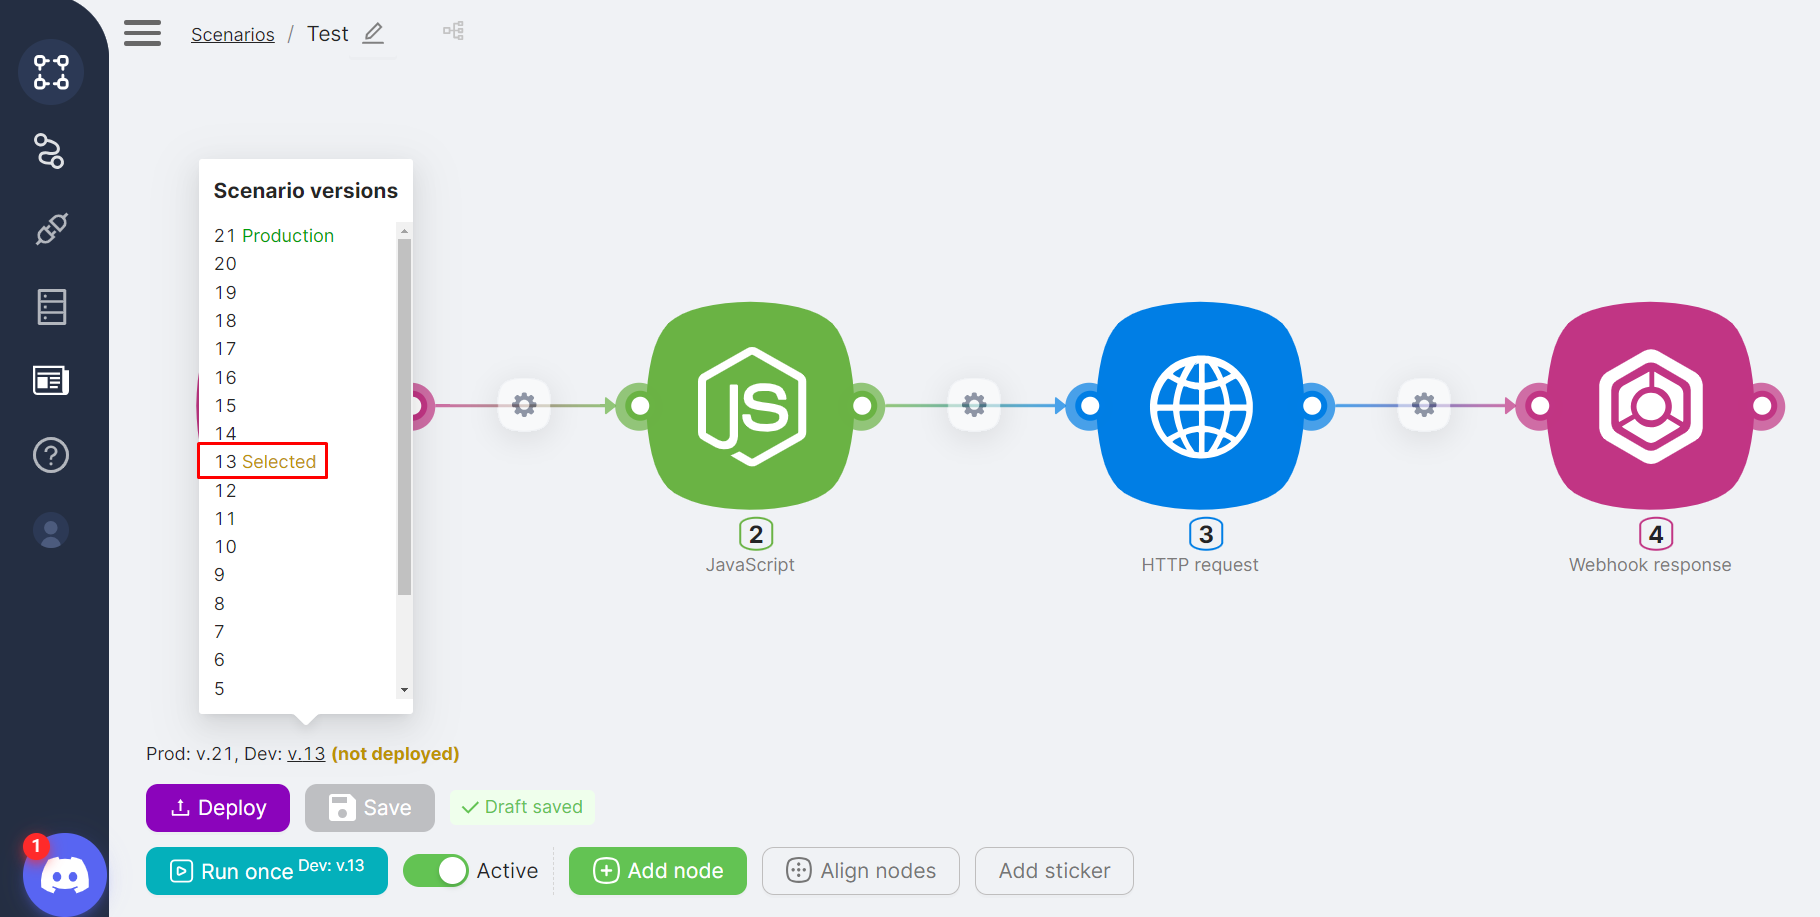
- Click Deploy to publish it to Production.
- Check the Selected and Production labels on the published version.

Triggers and Scenario Branches
Each scenario has a trigger node that starts the scenario. The behavior of some triggers depends on whether the scenario is deployed and whether it is active.
Trigger on Webhook
The Trigger on Webhook node starts the scenario when an HTTP request is sent to one of the node's URLs (Production or Development).
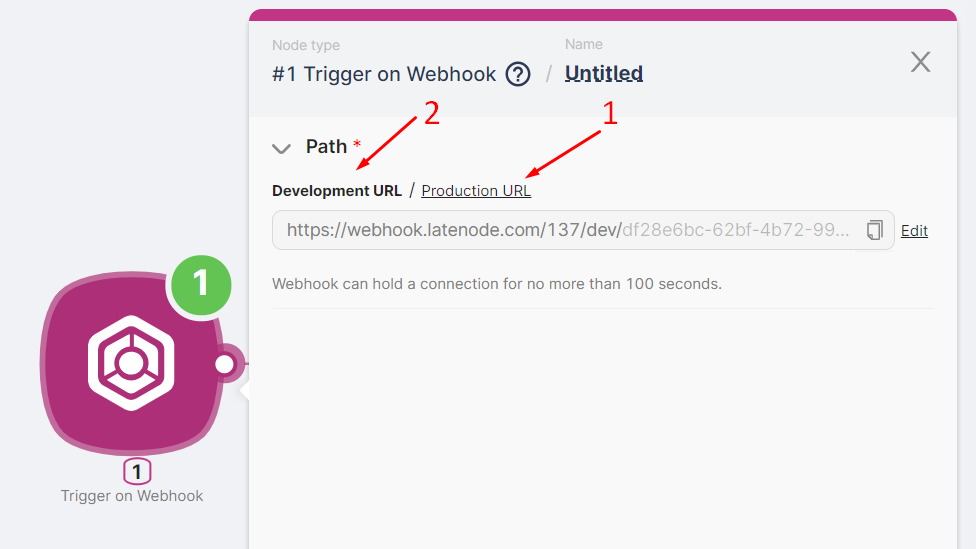
- The Production branch is triggered by requests to the Production URL. Deploy the scenario and ensure it is active.
- The Development branch is triggered by requests to the Development URL. For requests to be accepted, either run the scenario once or activate it with the Active toggle.
Trigger on Schedule
The Trigger on Schedule node triggers the Production branch according to the configured schedule (while the scenario is active).
The Development branch is not triggered on schedule, but you can run it manually with Run once.
Trigger on Run once
The Trigger on Run once node triggers the Development branch when Run once is clicked. The Production branch is not triggered when Run once is clicked.
Multiple trigger nodes
You can have multiple trigger nodes in a single scenario. For example, use Trigger on Run once for testing and Trigger on Webhook for end-to-end testing with incoming external data.
App Triggers
App trigger nodes behave differently depending on the branch:
- The Production branch is triggered at regular intervals (depending on your plan) if the triggering event in the app has occurred.
Polling intervals by plan
On Starter, triggers run every 10 minutes. On Grow, every 5 minutes. On Prime, every 2 minutes.
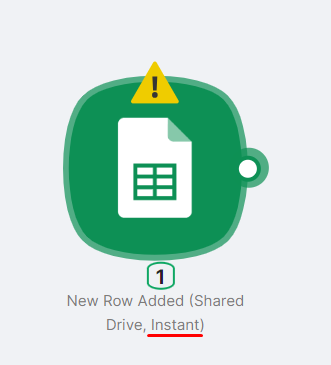
Instant triggers
Nodes with the word "Instant" in their name are an exception: they trigger immediately after the triggering event occurs in the external application.
- The Development branch is not triggered by the app trigger node. After manual Run once, it will execute if the triggering event occurs in the app.
Other Settings
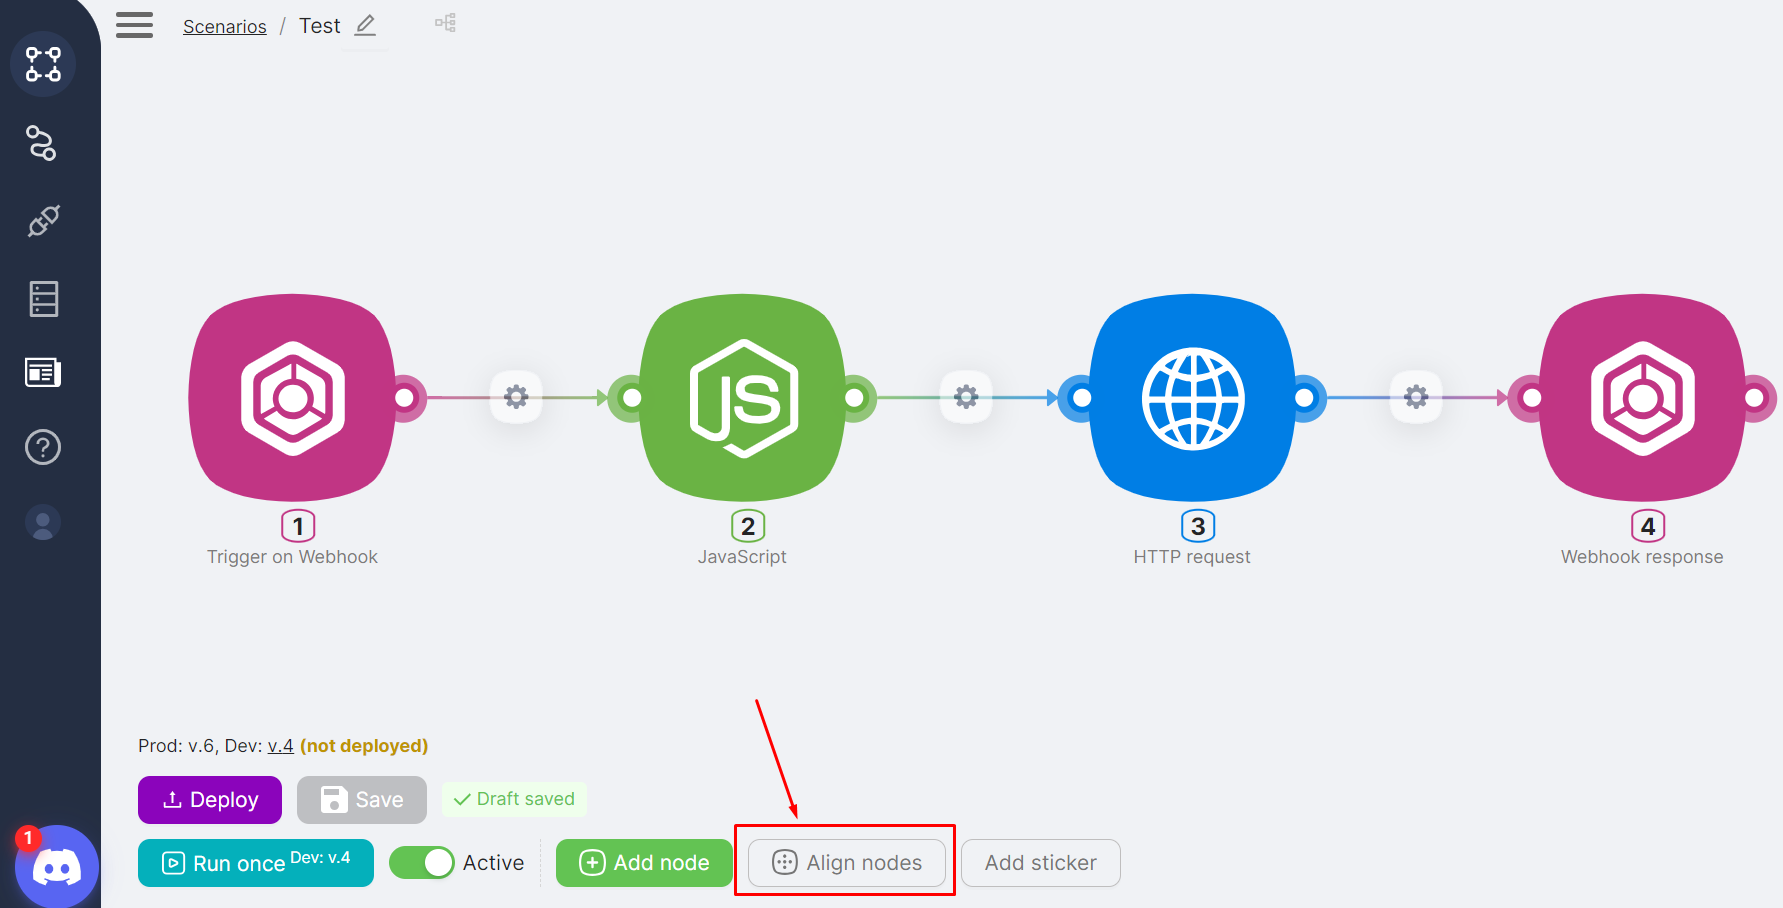
Aligning Nodes
At the bottom of the scenario page, use Align Nodes to horizontally align the scenario chain (when nodes are connected by links).
Unconnected nodes
If scenario nodes are not connected, unconnected nodes are aligned vertically.
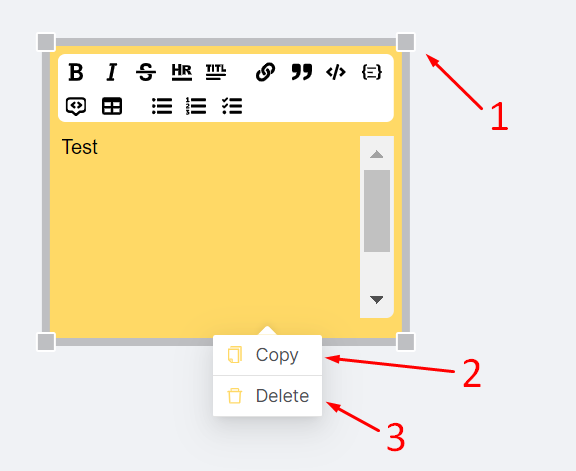
Stickers
Use Add Sticker to add notes to the scenario. Stickers are optional but can be used for comments, links, and code snippets.
You can resize a sticker by dragging its edges. Right-click on a sticker to:
- Copy — copy it to duplicate in the current or another scenario
- Delete — delete it
Interface
How to navigate and manage scenarios in the Scenarios interface.
Execution History
How to view, analyze, and debug past scenario runs.
Need Help? Ask the community
If something on this page is missing or unclear, post on the Latenode community forum. Our team and other users usually reply quickly.