Twitter (X)
1. Creating an App
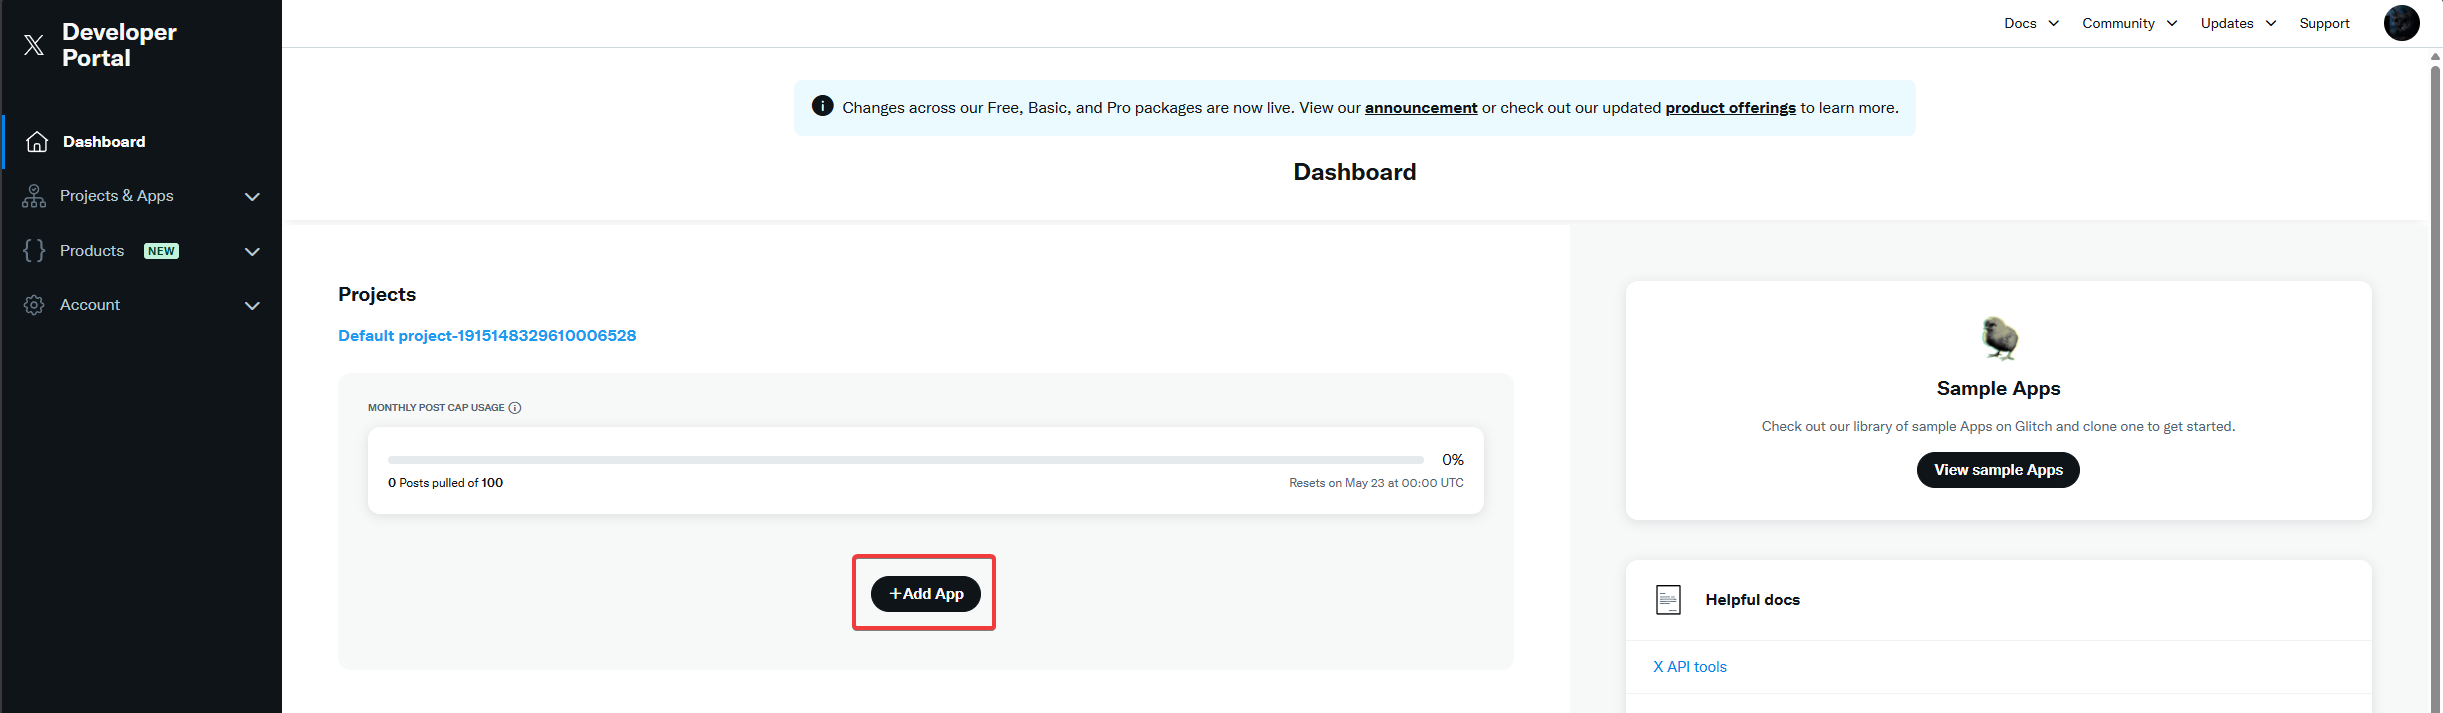
Go to the Twitter Developer Portal
In the Projects section, select the Default project (it is created automatically)
Click Add App
Enter a name for your app and click Next
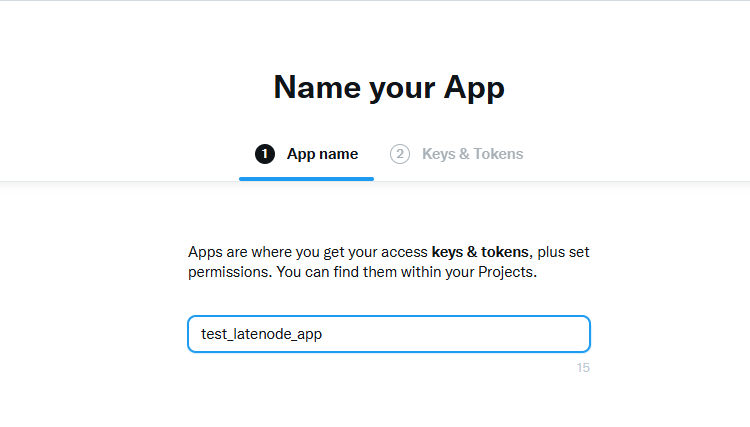
The app is now created — but don't save the keys yet.
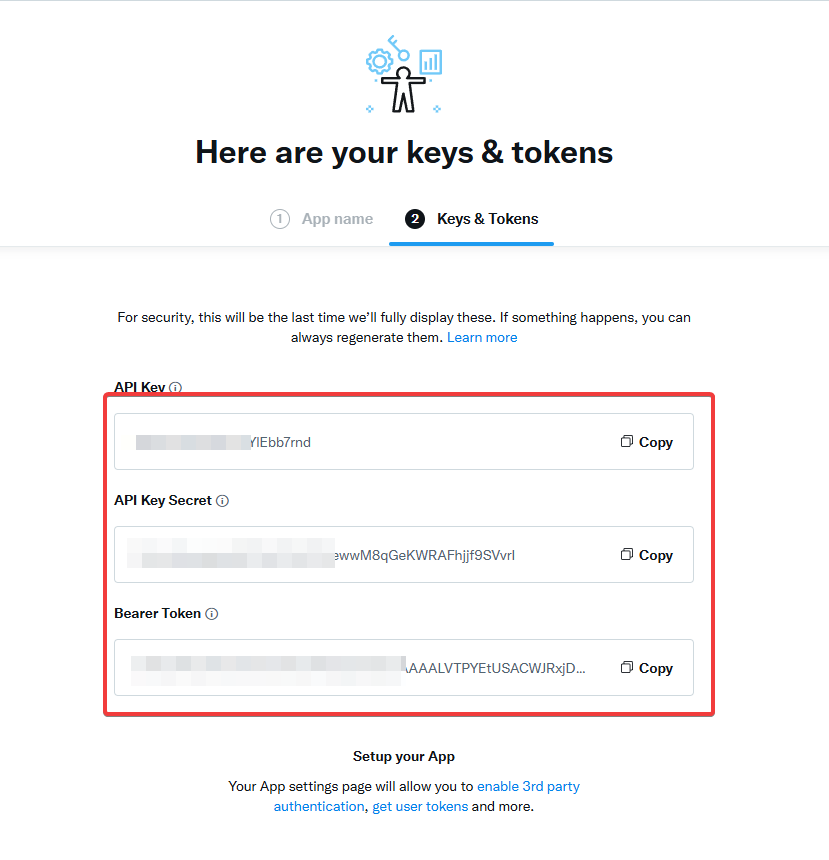
We'll return here later to get the necessary data.
2. Setting Permissions
Go to User authentication settings
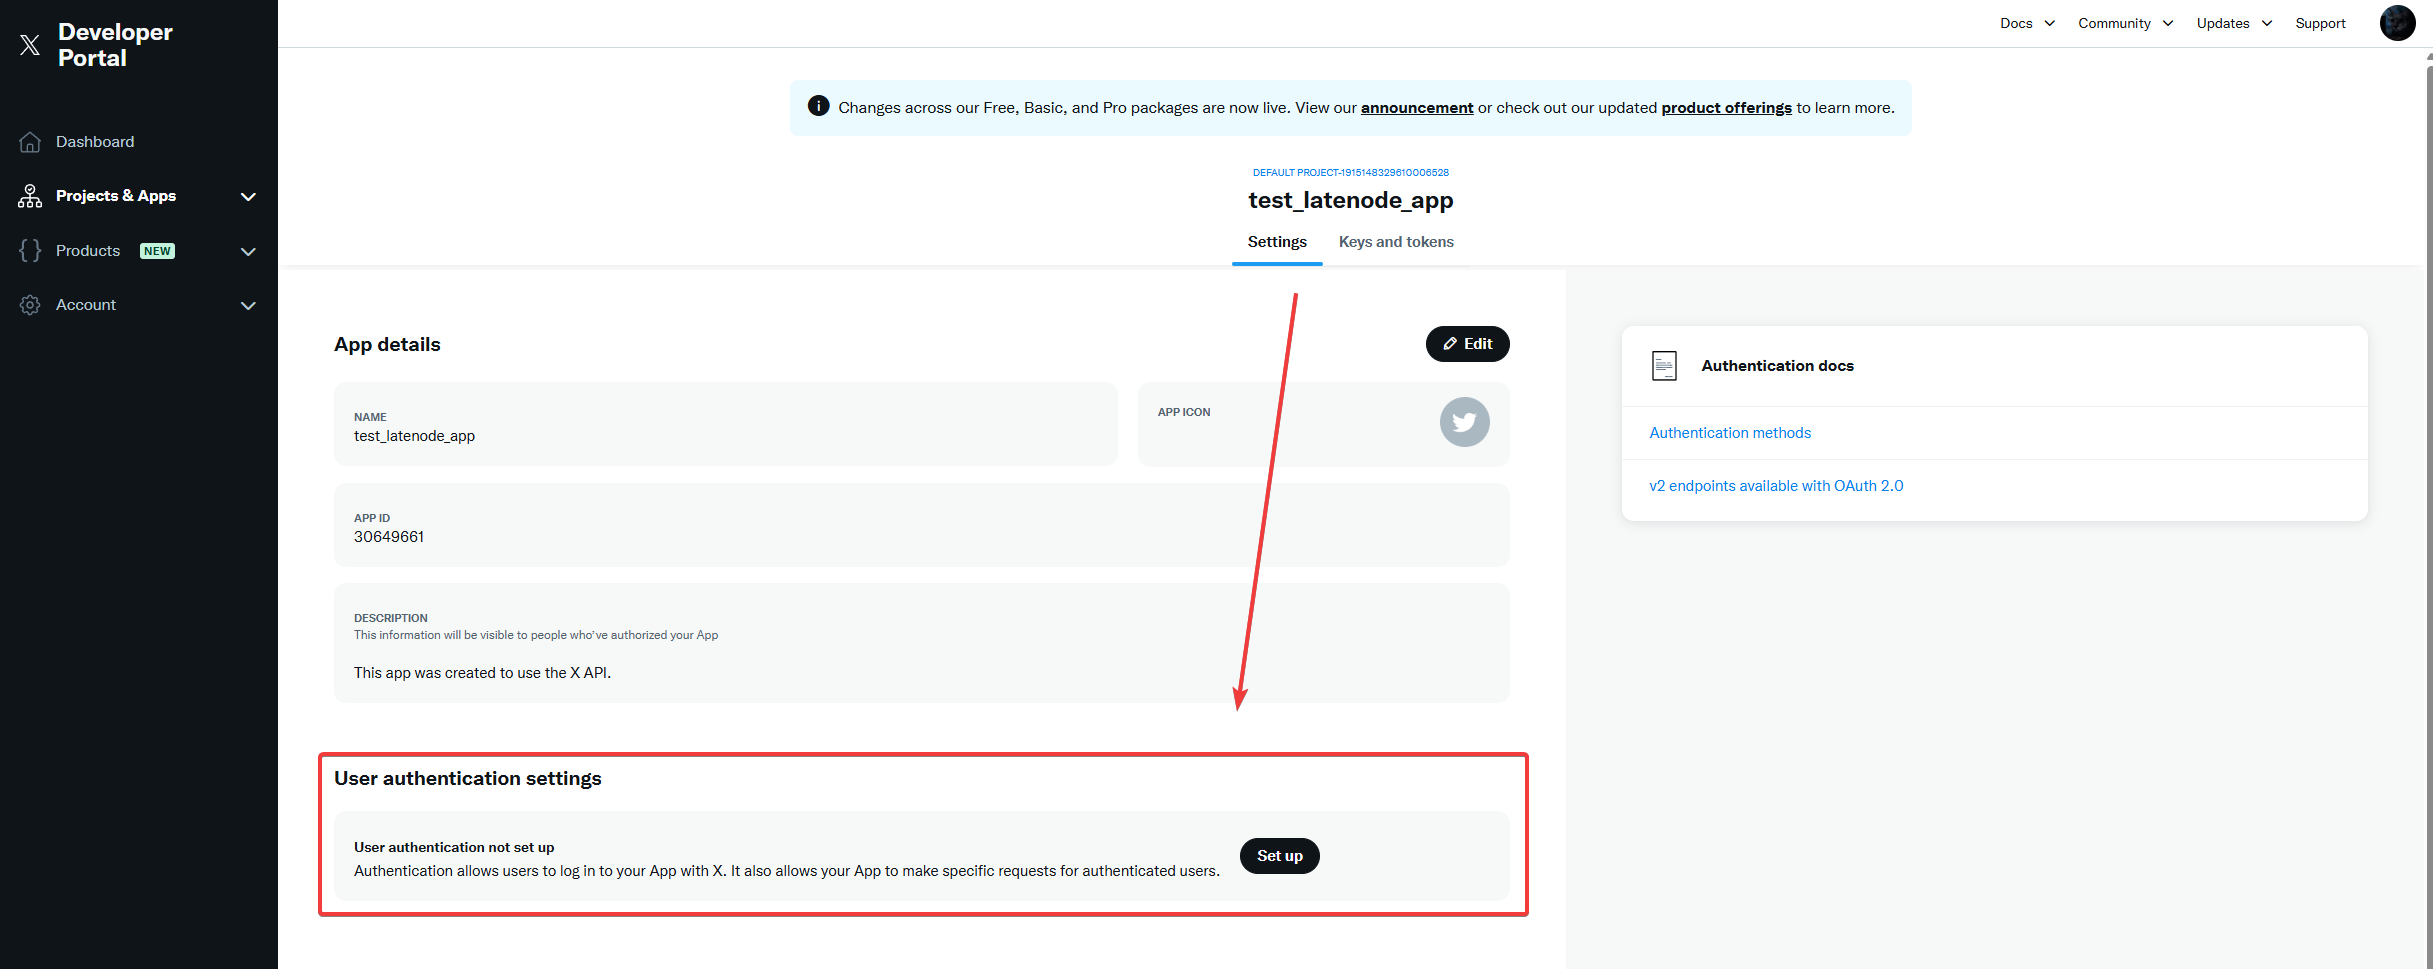
Set the necessary permissions (e.g., Read and Write)
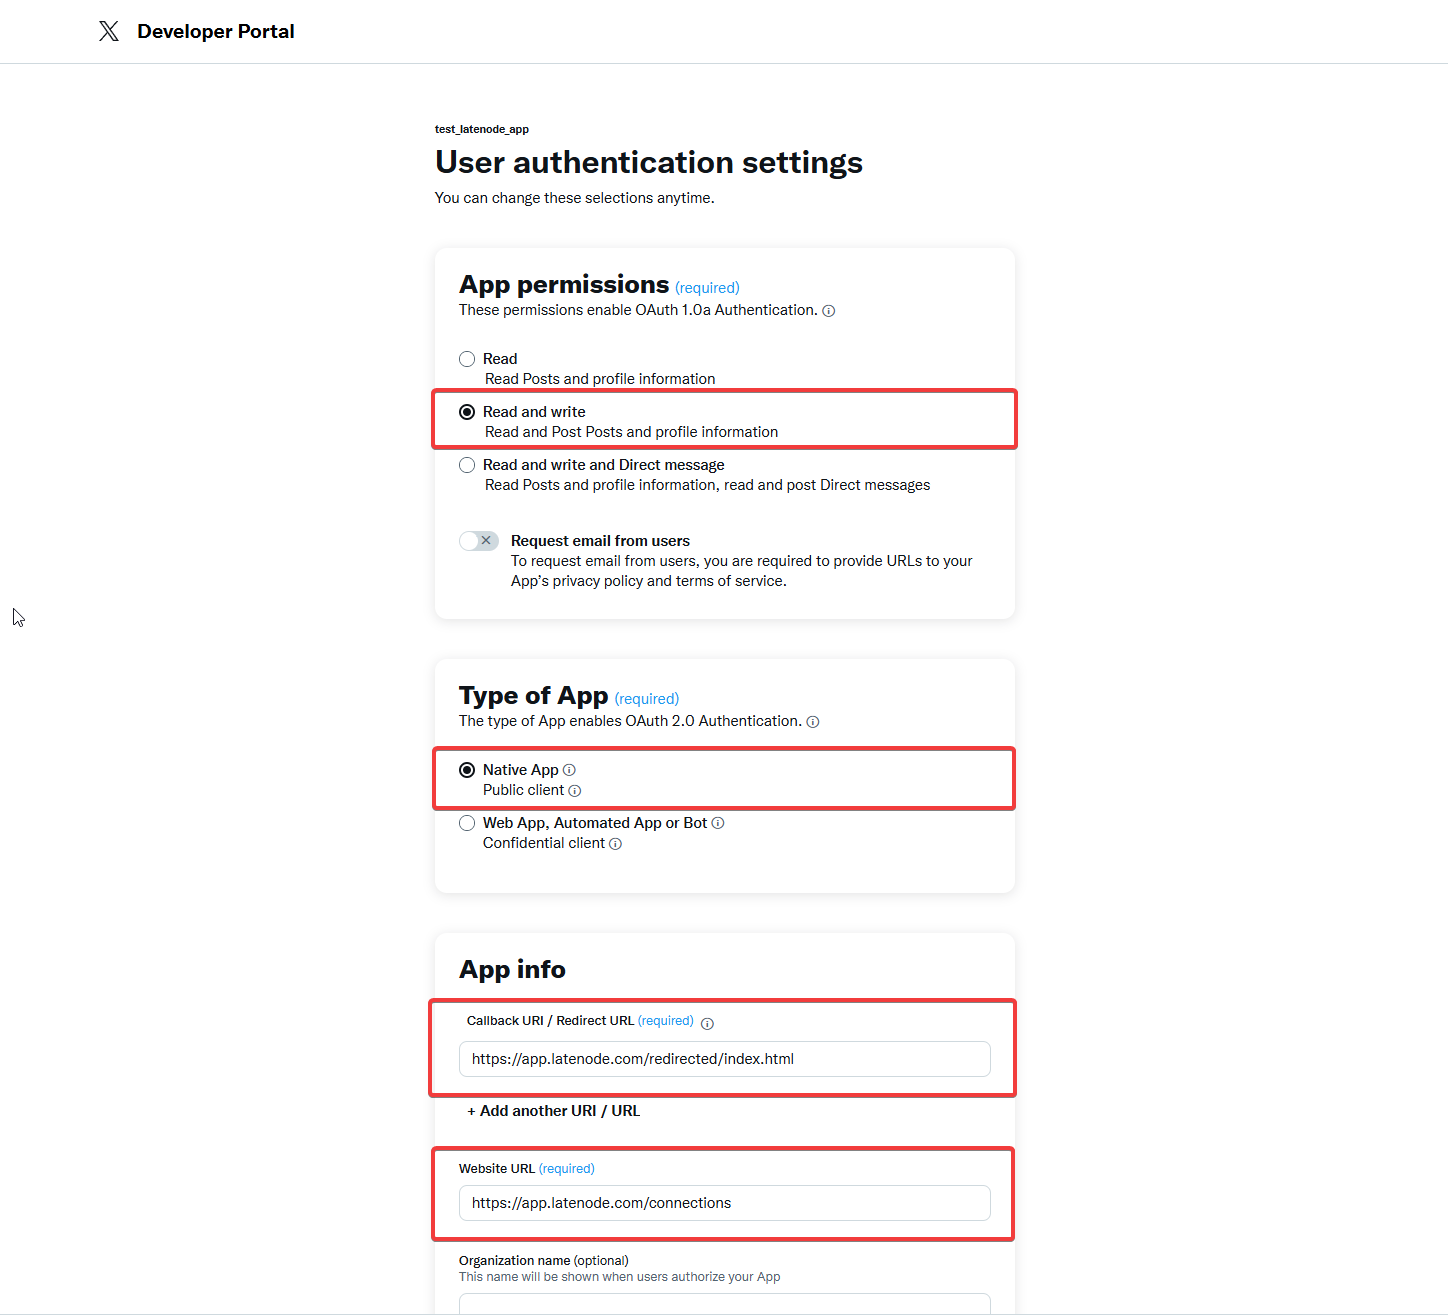
In the Type of App section, select:
- Native App — Public client
In the App info block, make sure to enter the following values exactly:
- Callback URL / Redirect URL:
https://app.latenode.com/redirected/index.html
- Website URL:
https://app.latenode.com/connections
Important: These fields must be entered exactly as shown — otherwise, the authorization won't work.
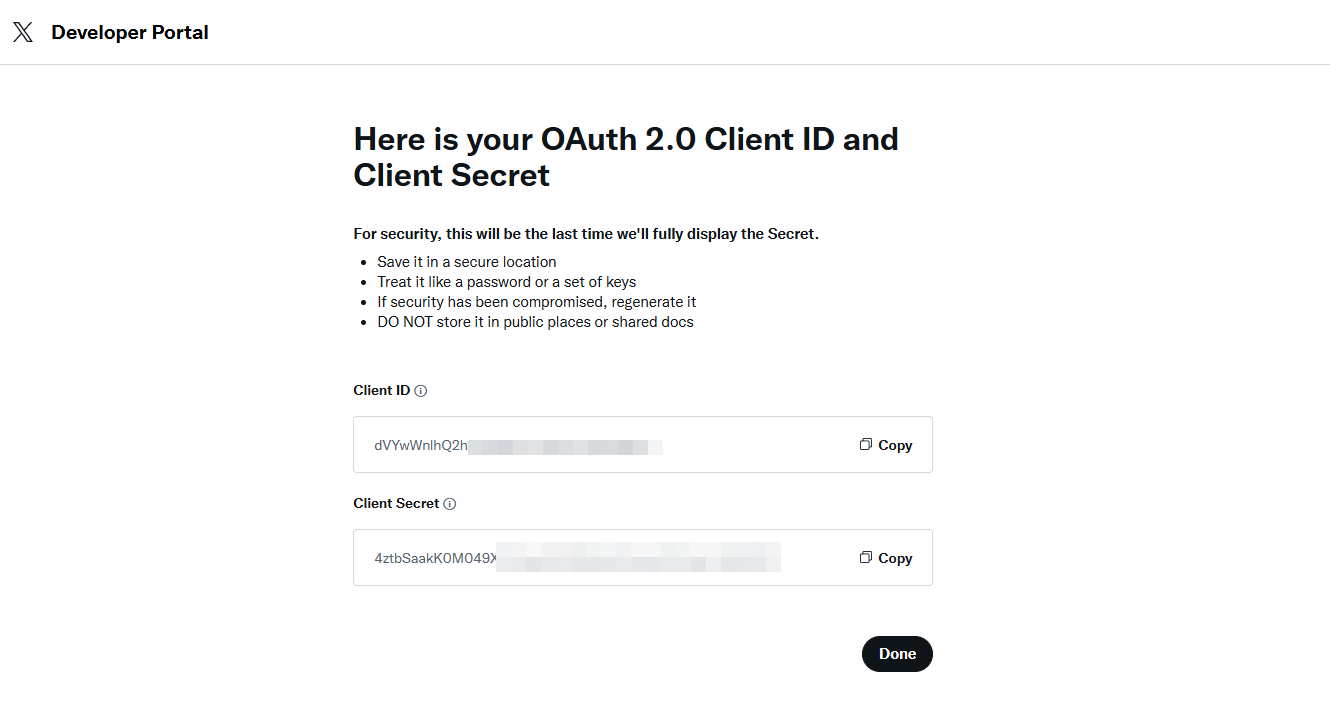
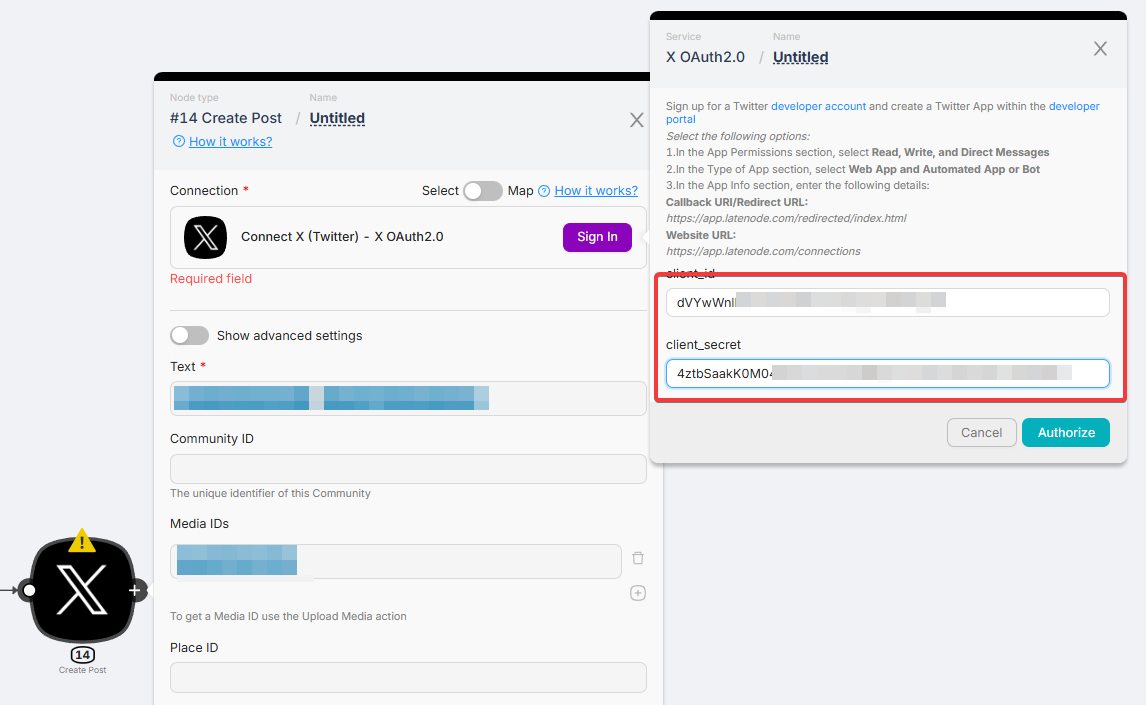
After this, you'll receive the Client ID and Client Secret.
These are the values you need to paste into the authorization form in Latenode, then confirm login.
Supabase
Using Supabase for real-time database automation.
WhatsApp Business Cloud (authorization)
Meta for Developers setup, Latenode connection, and WhatsApp webhook callback URL.
Need Help? Ask the community
If something on this page is missing or unclear, post on the Latenode community forum. Our team and other users usually reply quickly.