WhatsApp Business Cloud (authorization)
Overview
Use this page to prepare Meta for Developers and save a WhatsApp Business Cloud connection in Latenode. Action fields (Send Message, templates, files) are documented on WhatsApp Business Cloud.
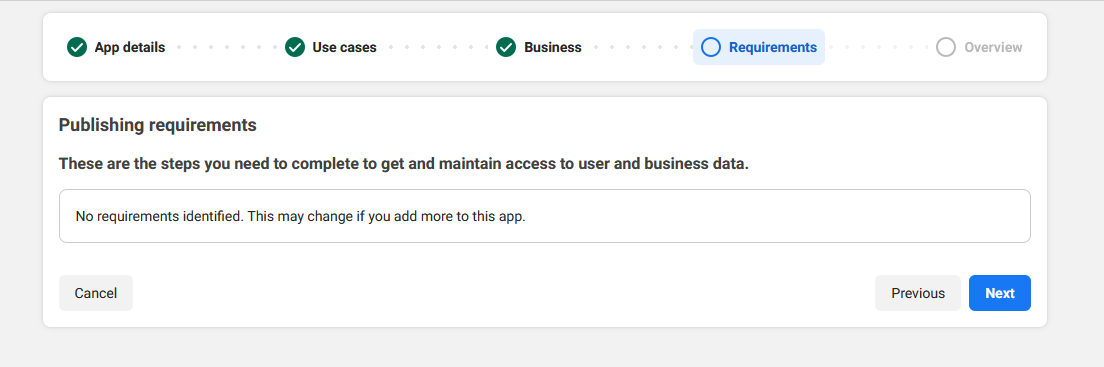
Requirements
- A Meta for Developers account
- A Meta Business Portfolio and the WhatsApp product on your app (Cloud API)
- A WhatsApp phone number in Meta (test or production)
Official: WhatsApp Cloud API Get Started.
Meta for Developers
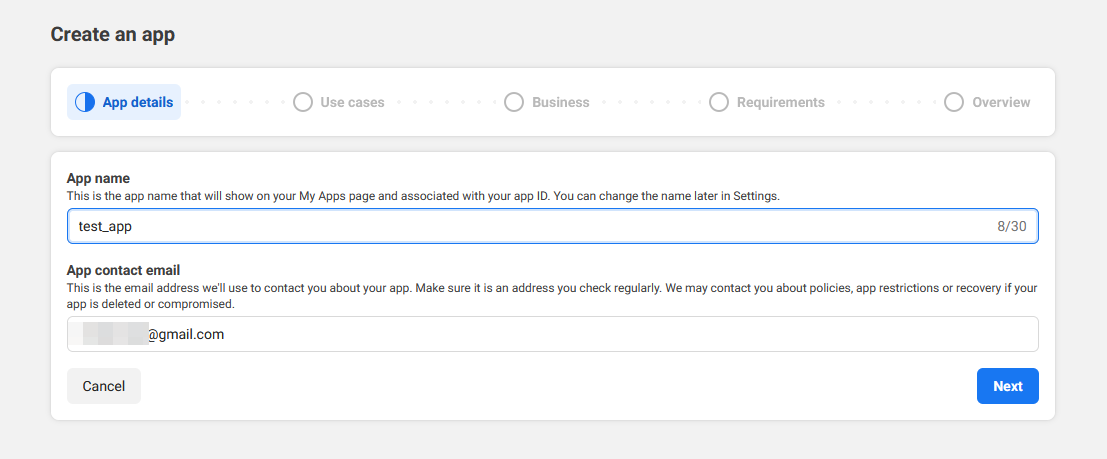
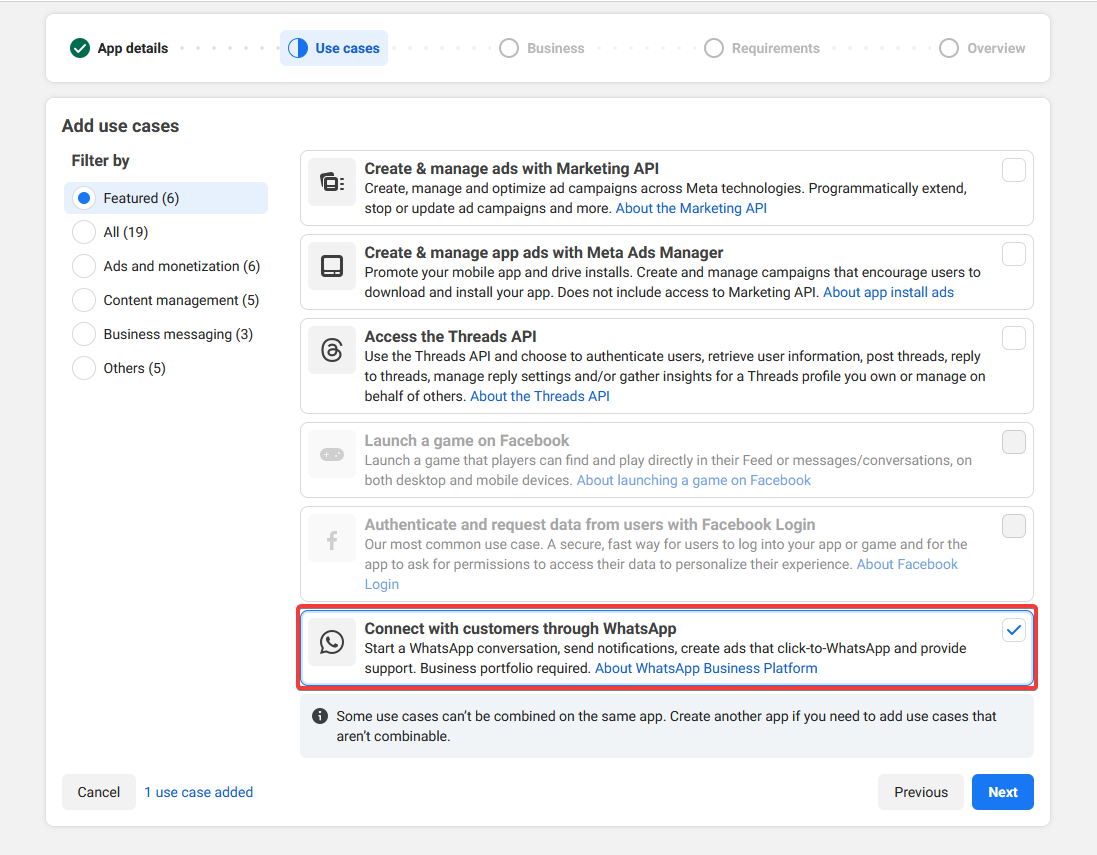
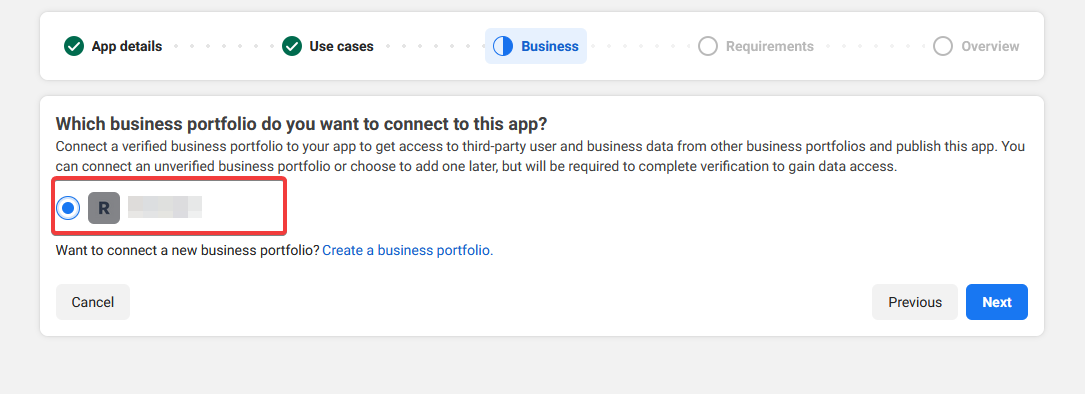
UI labels move between updates; use the screens below as a visual path. Replace values with your own.
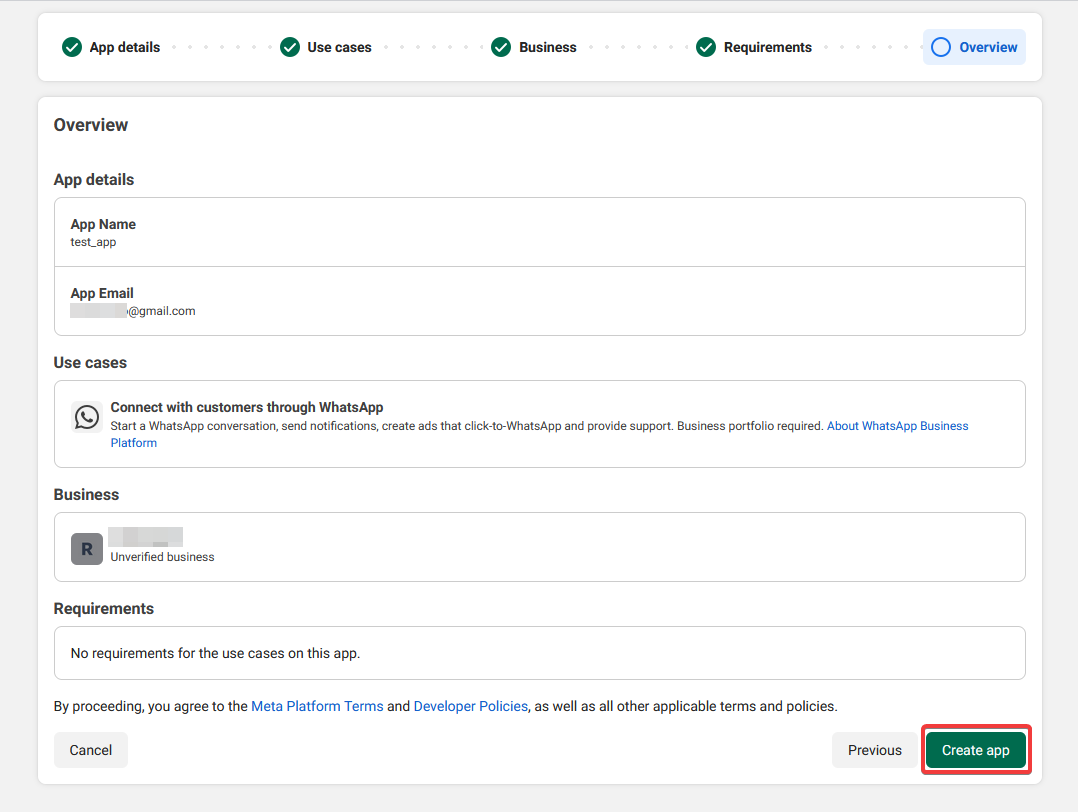
- Open Meta for Developers and My Apps.
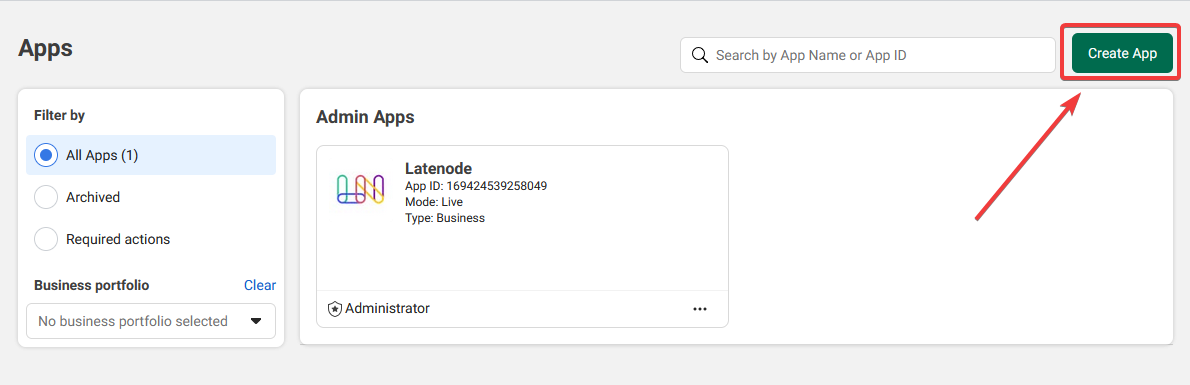
- Open your app (or create one) and add the WhatsApp product if needed.
- Open WhatsApp → API Setup (or the current equivalent).
- Copy the access details Meta shows here (token, ids) into your Latenode connection form where each field asks for them.
- Keep Phone number ID and sender details consistent with what you select later in Sender ID on nodes.
- For inbound messages, you will set Callback URL and Verify token in the webhook section (see Webhook (Callback URL) and Triggers (webhook)).
API Setup example
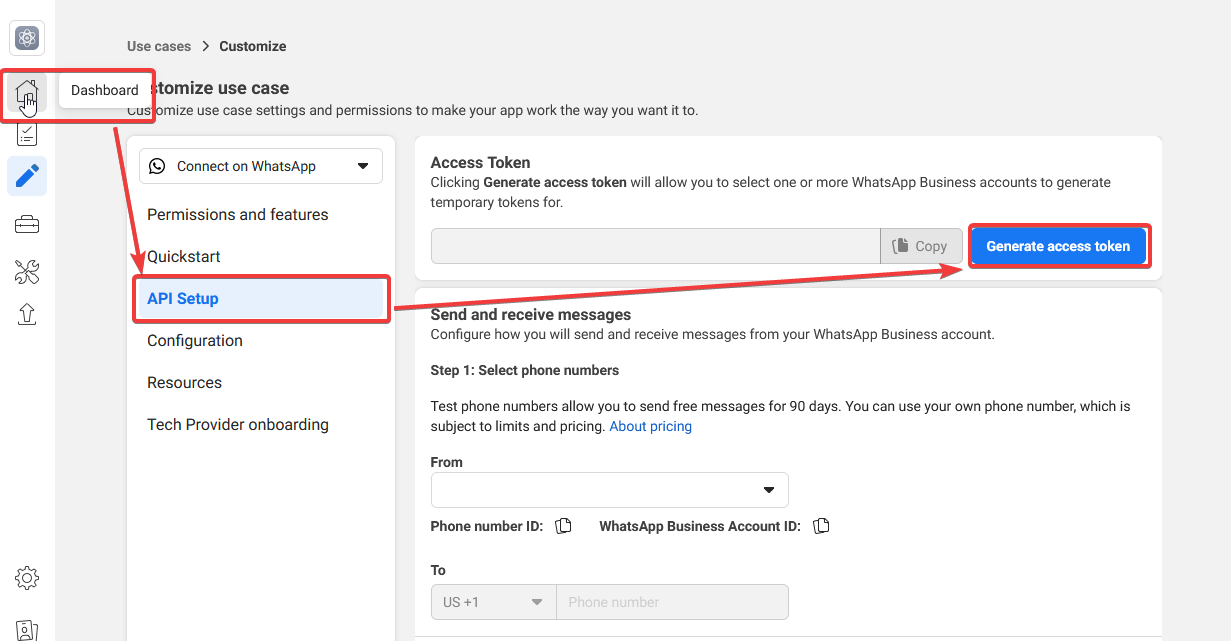
On the API Setup screen, use the control to get a test number (wording may differ slightly in Meta). After the test number is issued, WhatsApp Business Account ID appears on the page — copy it into your WhatsApp Business Cloud Connection in Latenode if the form asks for it.

Connection in Latenode
- Sign in to Latenode.
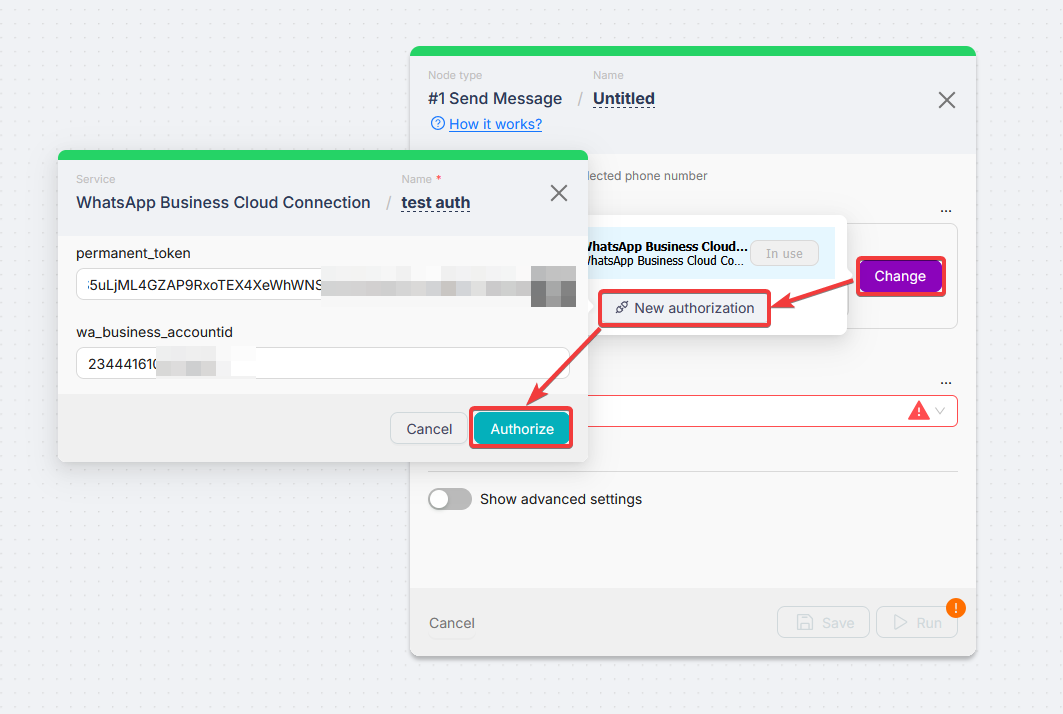
- Add a WhatsApp Business Cloud node (or open Authorizations).
- Click Create an authorization and choose WhatsApp Business Cloud Connection.
- Paste the Meta values into the labeled fields and Save.
- Select the new connection in Connection on the node.
Webhook (Callback URL)
Point the Meta WhatsApp webhook at a Webhook trigger in Latenode. Duplicate the template scenario WhatsApp webhook setup, then follow the numbered steps on Triggers (webhook).
Short recap:
- Webhook → Webhook Response
- Paste the trigger URL into Meta Callback URL; set Verify token; Verify and Save
- Run once to verify
- Move the Webhook link to your logic node; disconnect Webhook Response for live traffic
- Deploy and Activate
Troubleshooting
- 401 / invalid token — Regenerate the token in Meta.
- Sender / number mismatch — Sender ID on actions must match a number from this Meta app.
- Webhook verify fails — Webhook Response must run during verify; URL and token must match Meta.
- Templates — WhatsApp Business Platform
Related
Twitter (X)
Managing incident response automation with Twitter (X).
Zoom
Automating meeting scheduling and notifications.
Need Help? Ask the community
If something on this page is missing or unclear, post on the Latenode community forum. Our team and other users usually reply quickly.